Green Replenished!

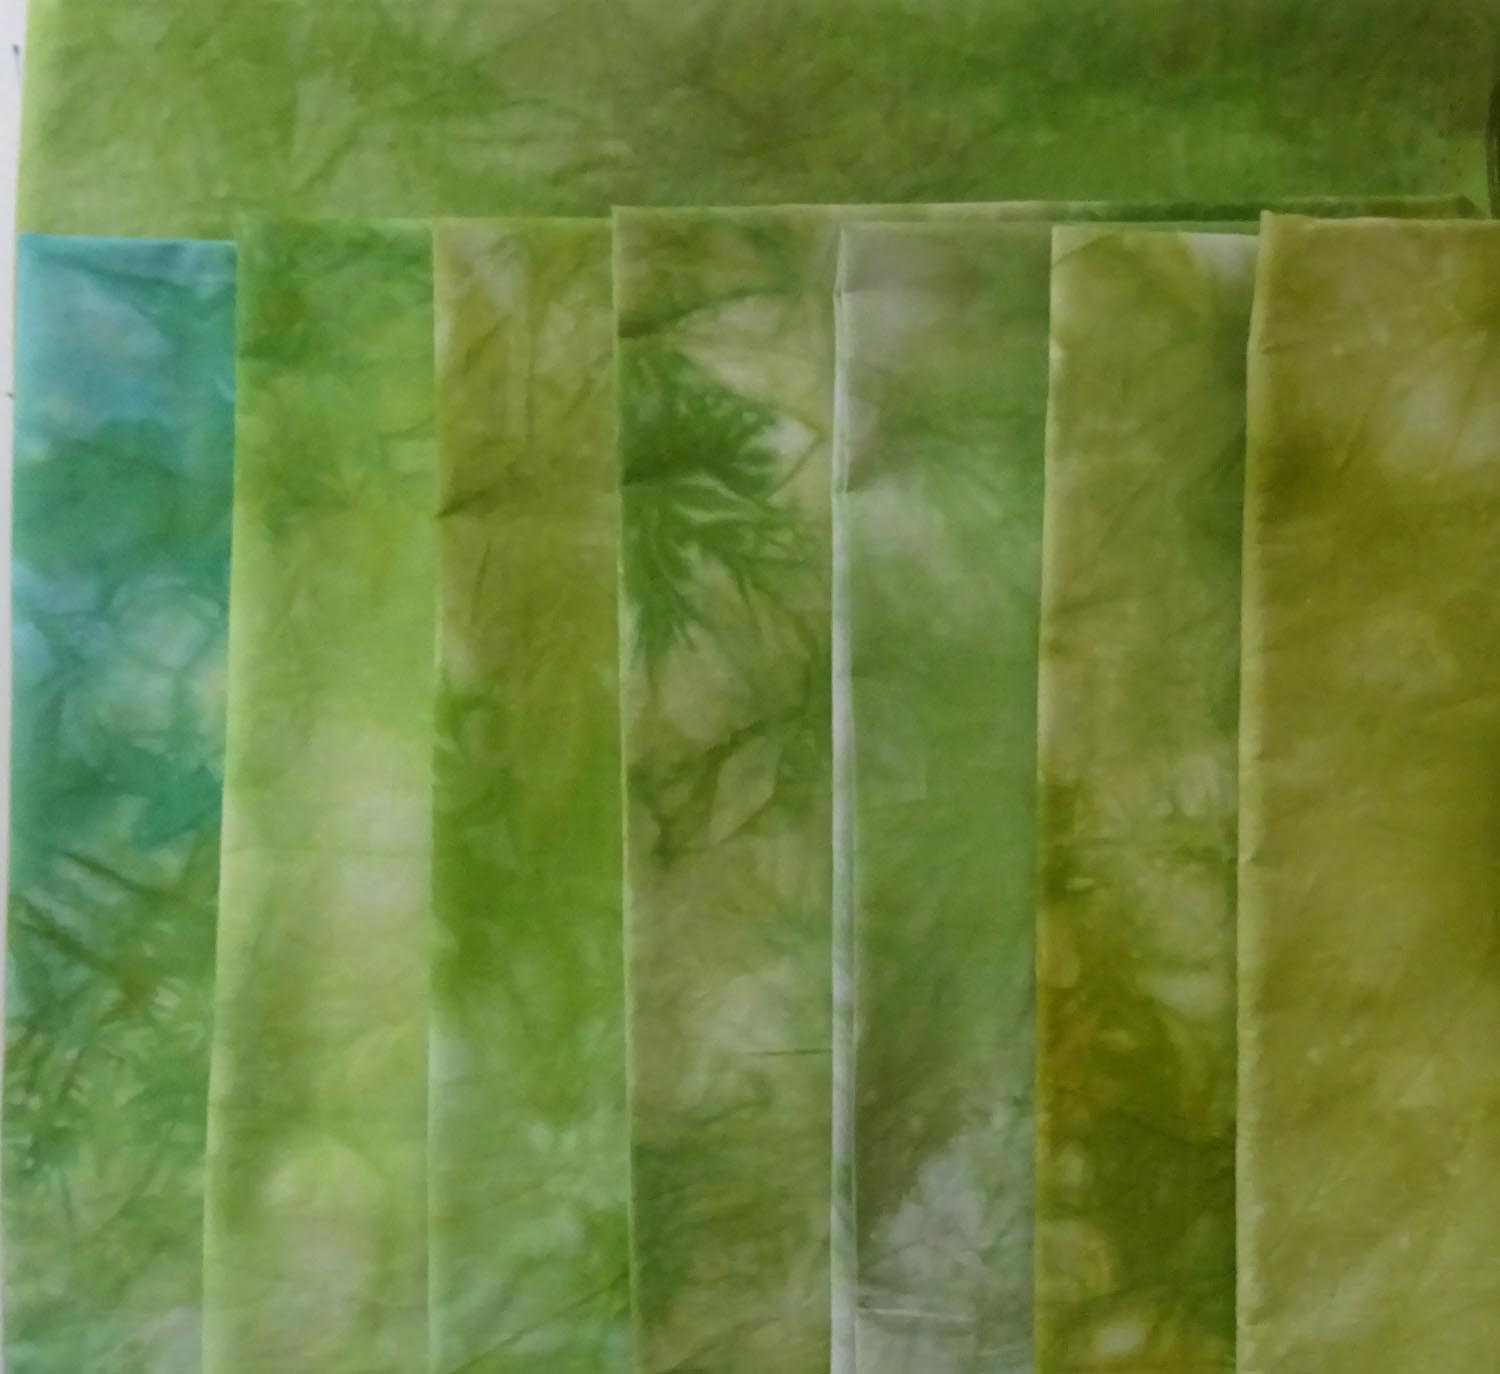
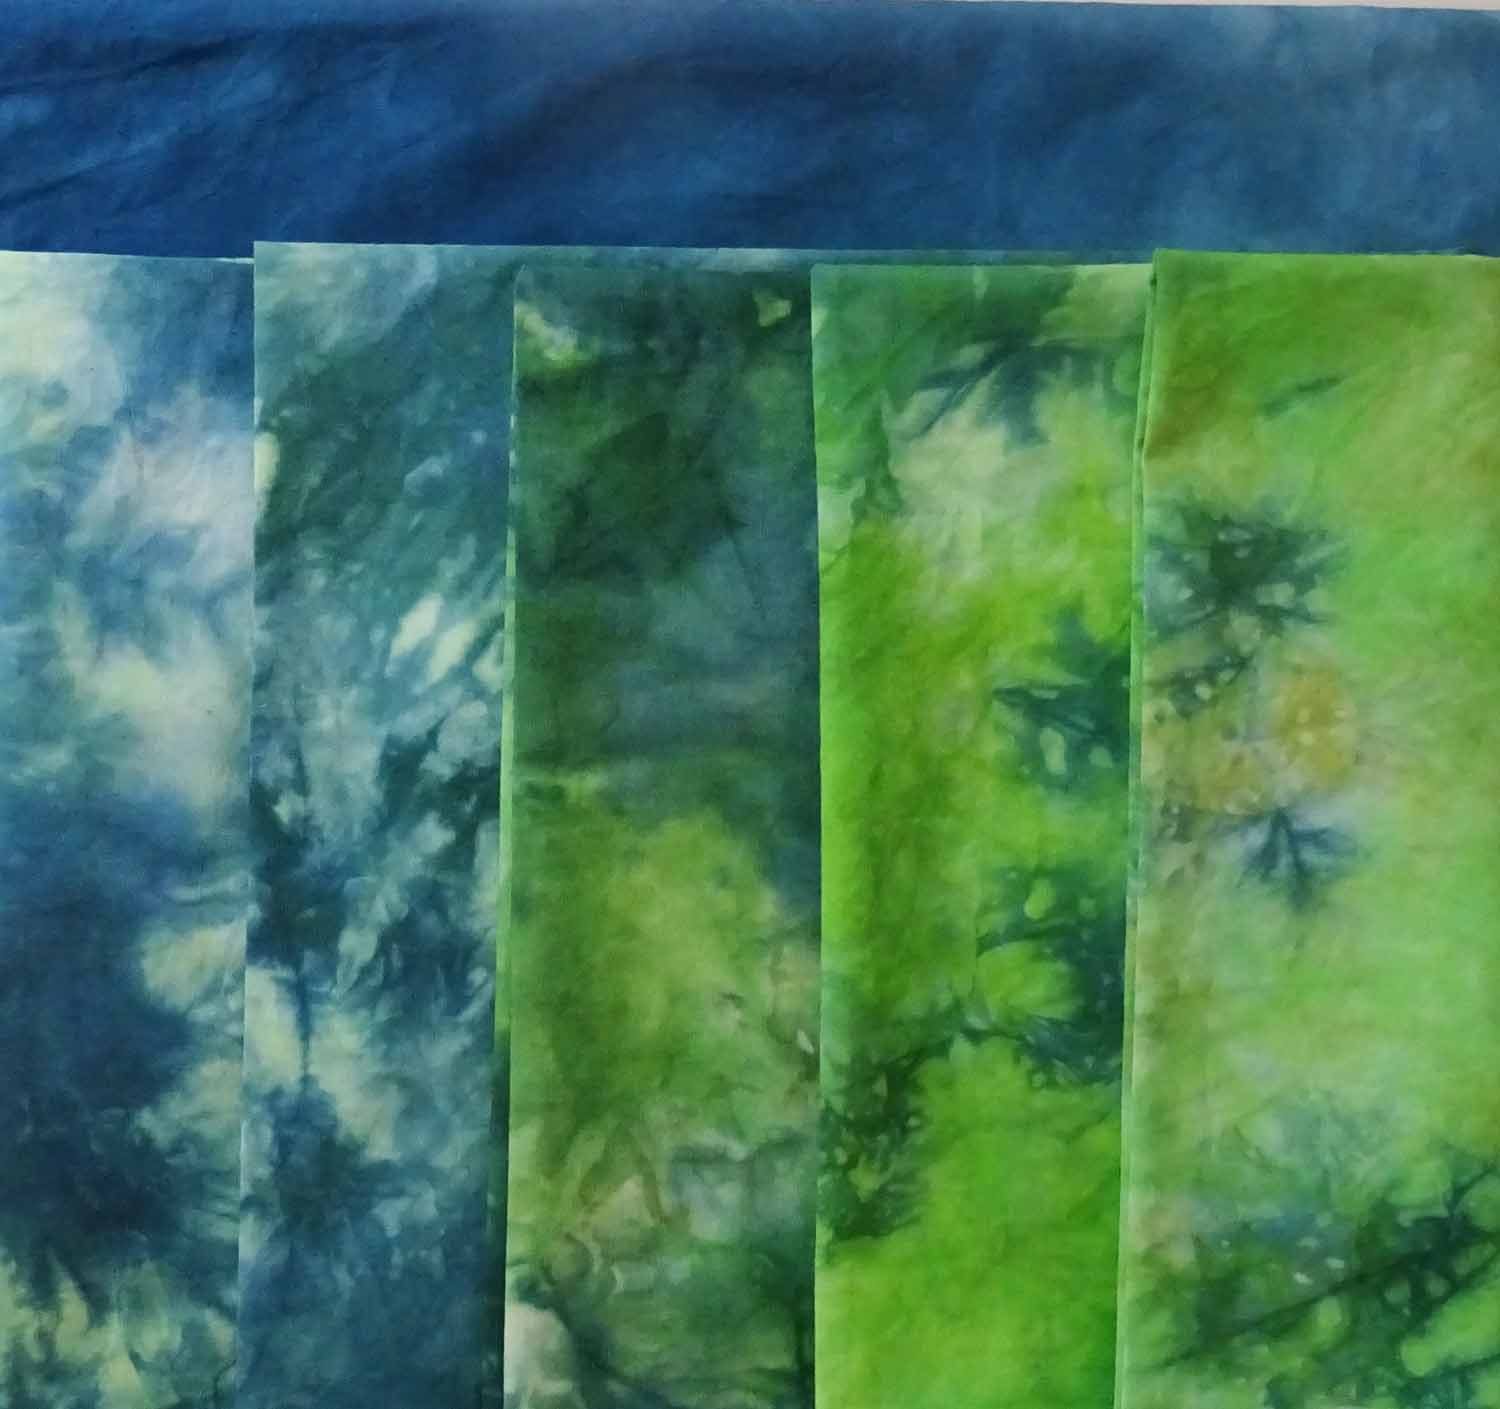
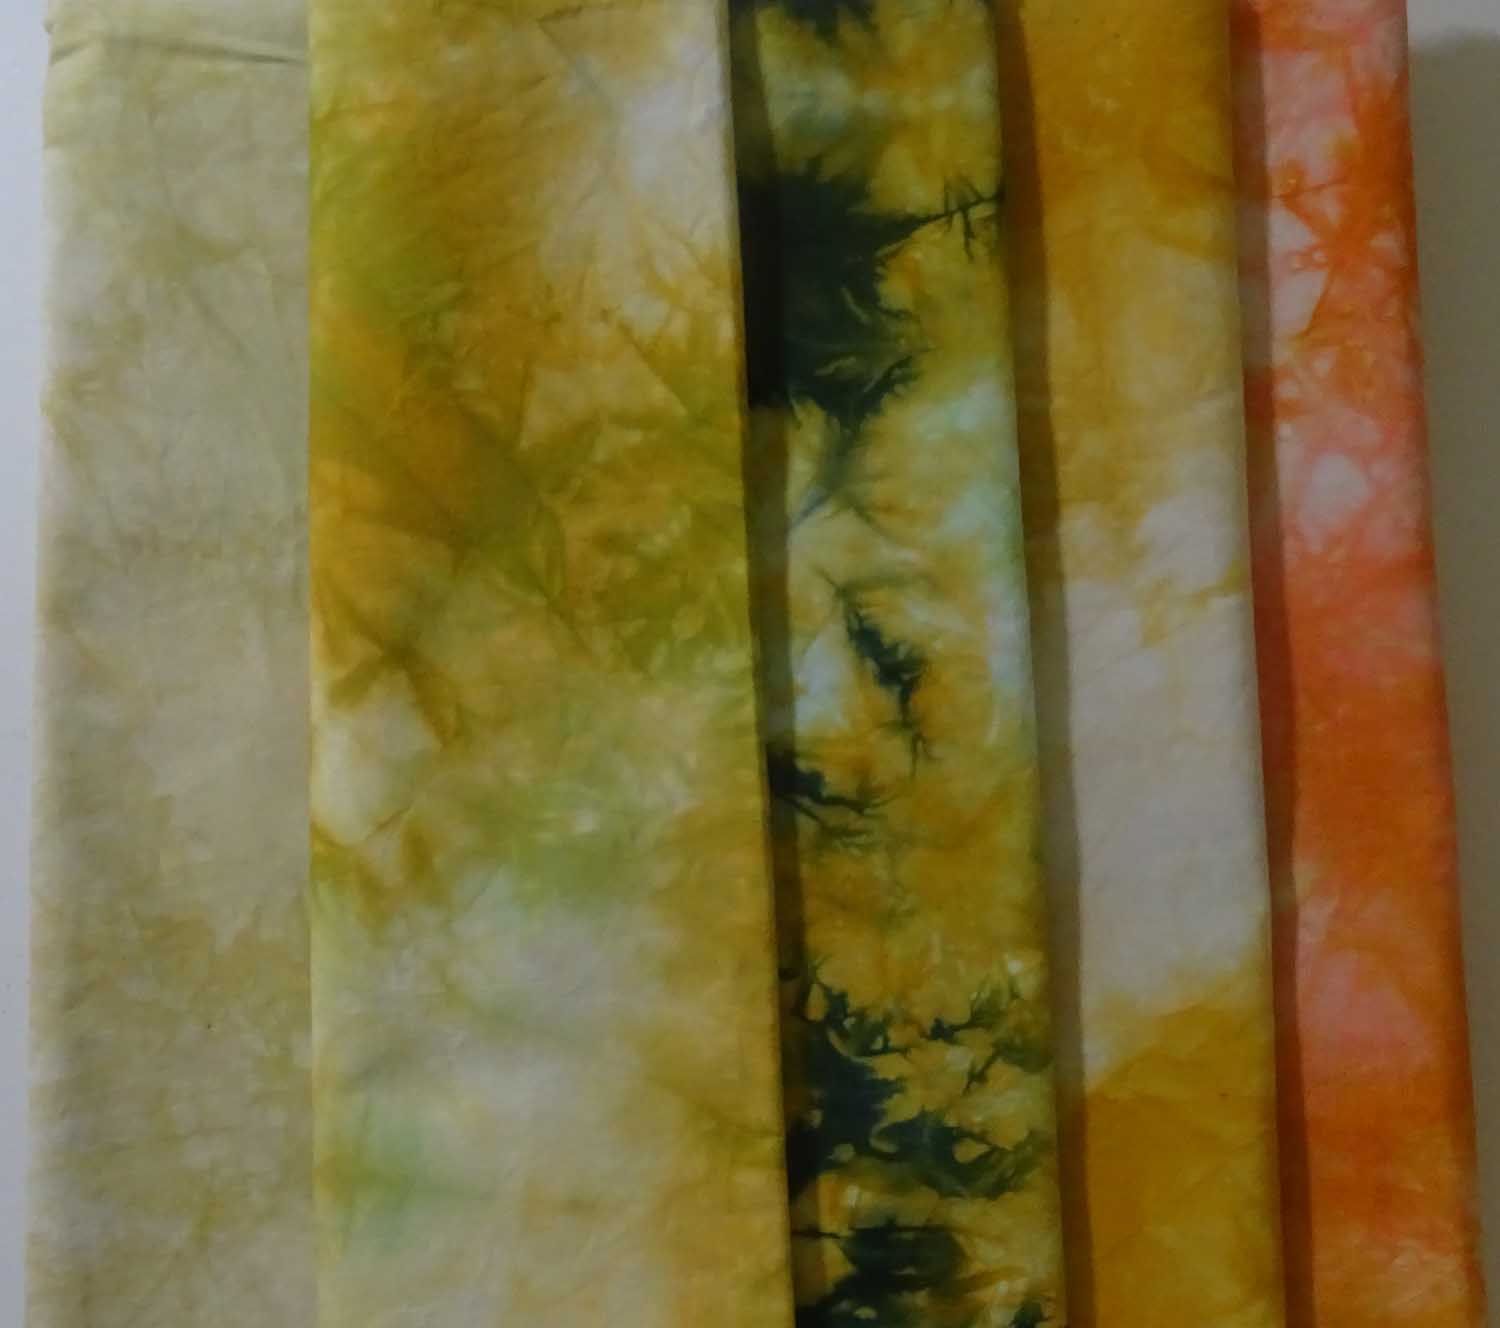
After all that green work,   the fabric stash was looking decidedly bare ....  so this week I have started dyeing fabric for the work ahead ........  I say 'started'  because I've already made inroads into this batch!! 

I dyed about 10 mtrs of cotton poplin,  mostly fat quarters but also some half metre and a few metre pieces for larger backgrounds   ... I love the surprising combinations that come from Ann Johnston's "color parfait's" (See Anne's  book  'Color by Accident'  - one of my favorite references on fabric dyeing).  I worked with mixes of a number of green and  blue dyes for most of the fabrics then added a bit of antique gold and peach!

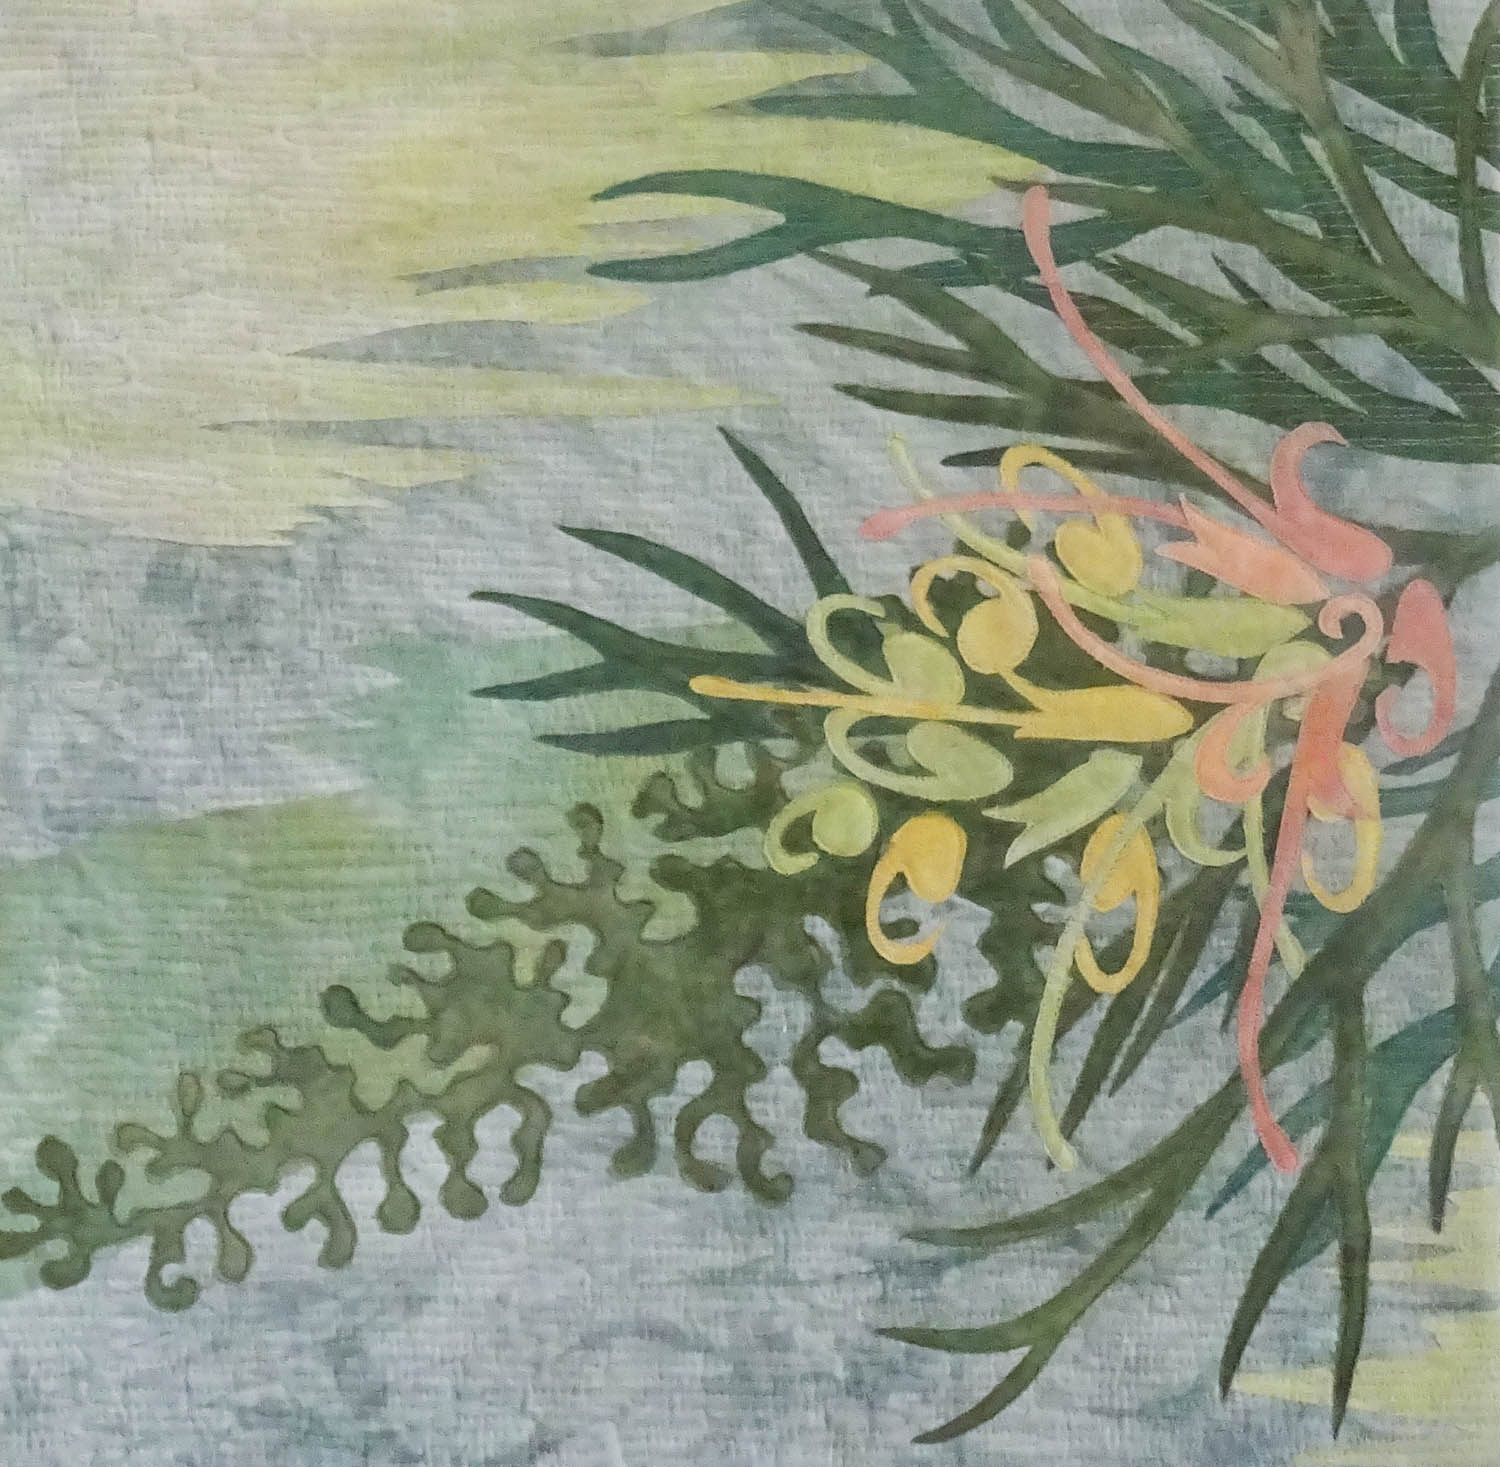
Just as well I made plenty of greens ... quite a few pieces are just right for the Grevillea piece I have just started work on!!!  The next batch of colors is planned as soon as the new PDF fabric arrives!!!

Clearly my recent work says 'green' is high on my list of favorites!!!  What does your work say about your favorite color??  

Thanks for dropping by ............  CC


'Green' Collection ....

The 'Green'  Exhibition opened this week at Jing Jo Cafe in Kangaroo Valley and I was thrilled that a number of my pieces were included ......

Here is my 'Green' collection............

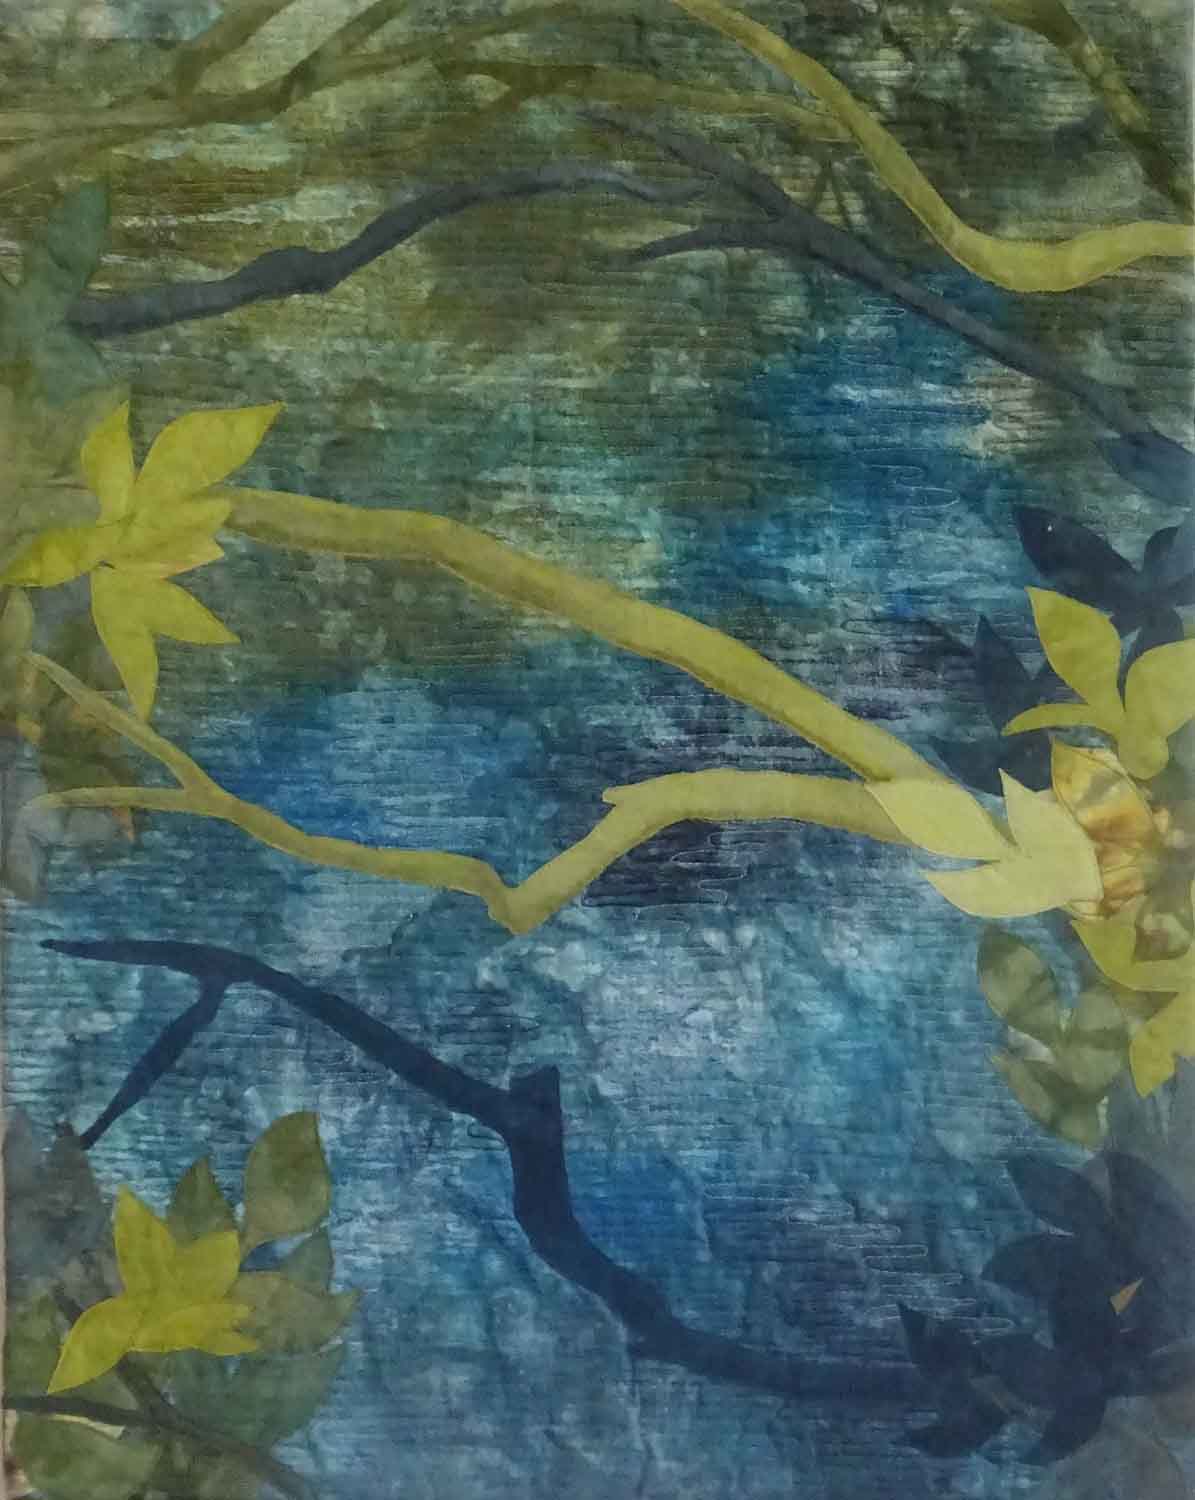
.... a set of 4 Stepping Stones pieces - 'Winding Way' , 'Peaches & Cream' - Grevillea 3 and 'Down by the Bay' - Mangroves 2.

 Even more exciting,  my grevillea piece was chosen as the image for the show ..... Thank you Belinda for all your hard work bring this exhibition together!

If you are in the vicinity of Kangaroo Valley I highly recommend the exhibition. ... there is an excellent variety of work on show .... and the coffee and food at Jing Jo's is excellent.  Here is the link to their site if you need their address and opening times ....  http://www.jingjo.com.au

If you visit,   I'd love to know what you think???  CC


Stitch First Applique Later!

With my new Grevillea piece I reversed my usual construction process by stitching the background before the applique!  Now this is not a new idea but one I've avoided because I like the flexibility that finalising the composition first allows.  Stitching first requires a bit of a leap of faith!  

Step one was stitching the background.  Doing the stitching first makes the process very easy, no shapes to navigate around so the stitching is very fluid and it's easy to achieve a good result.  It also helps to integrate any additions/variations in the background design.

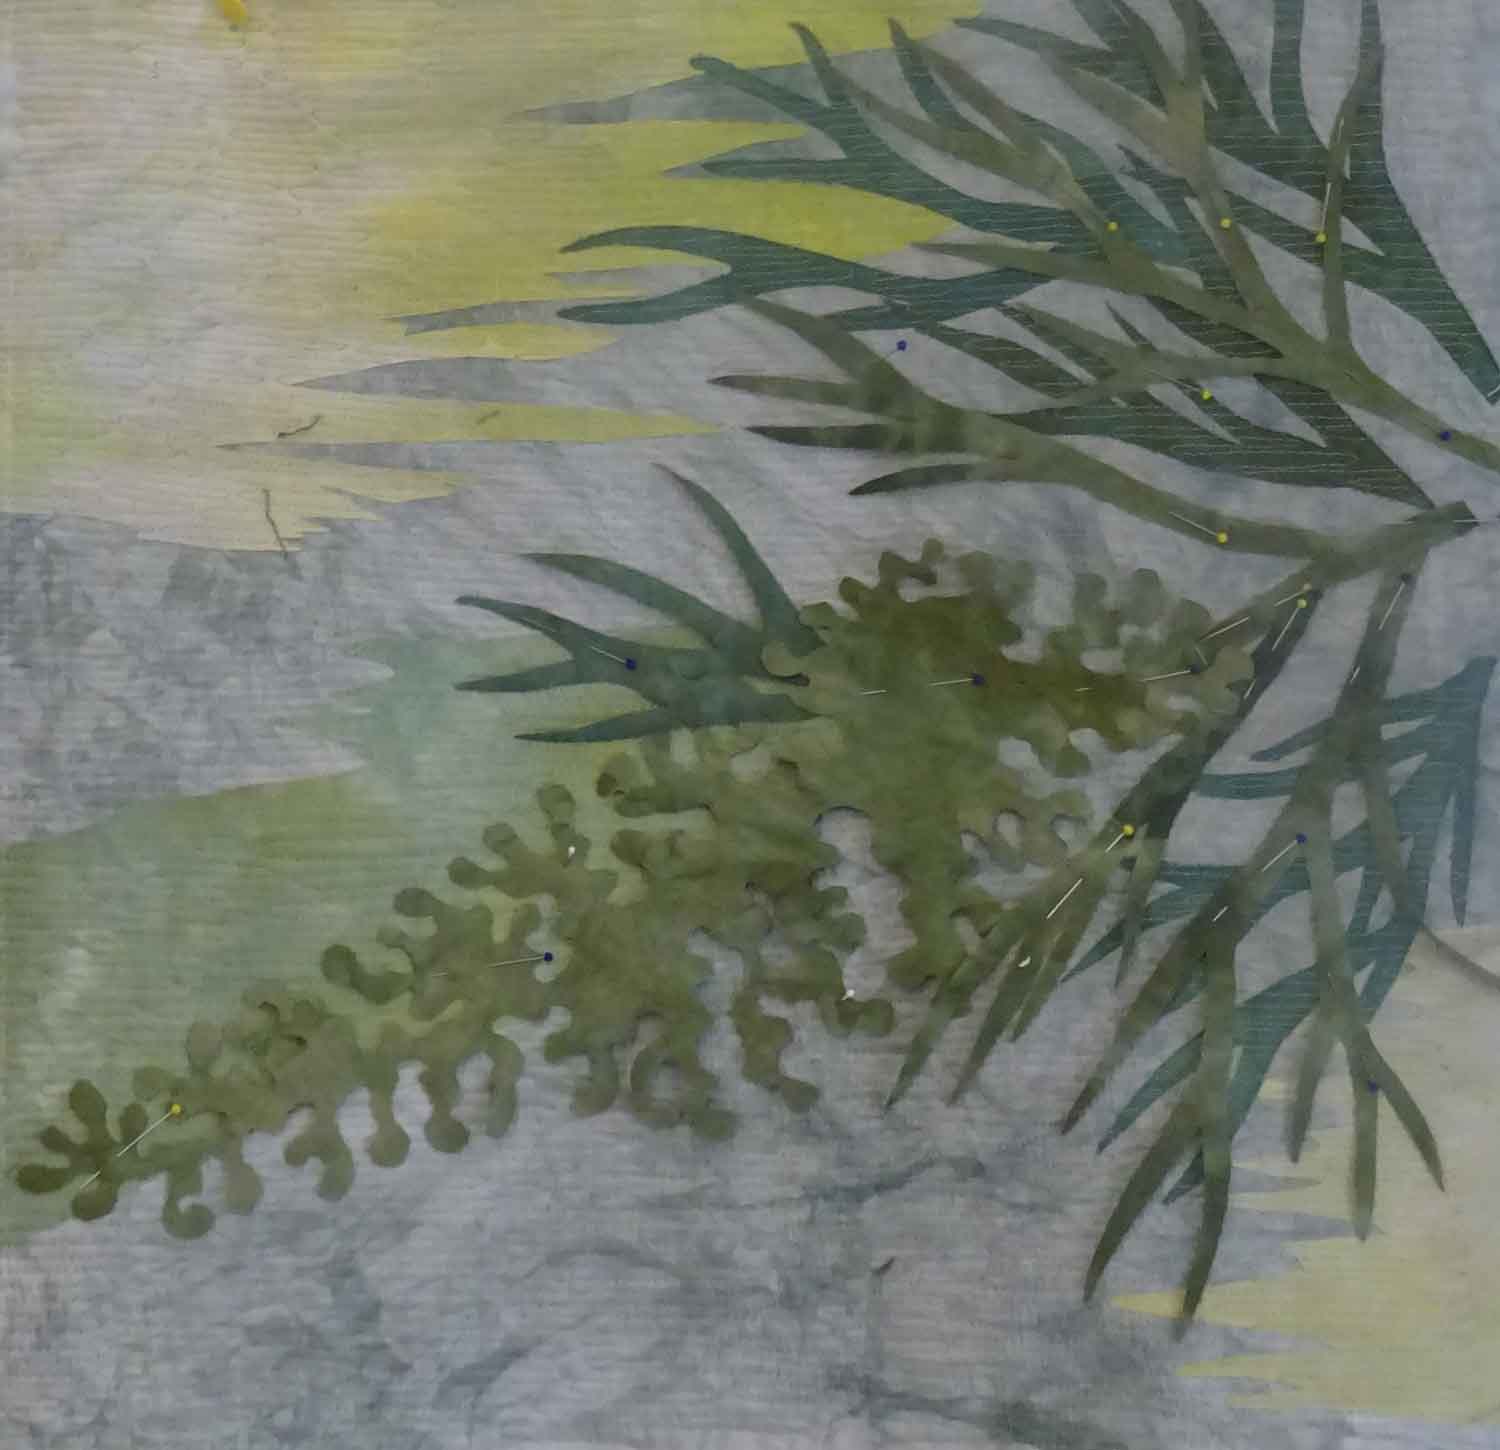
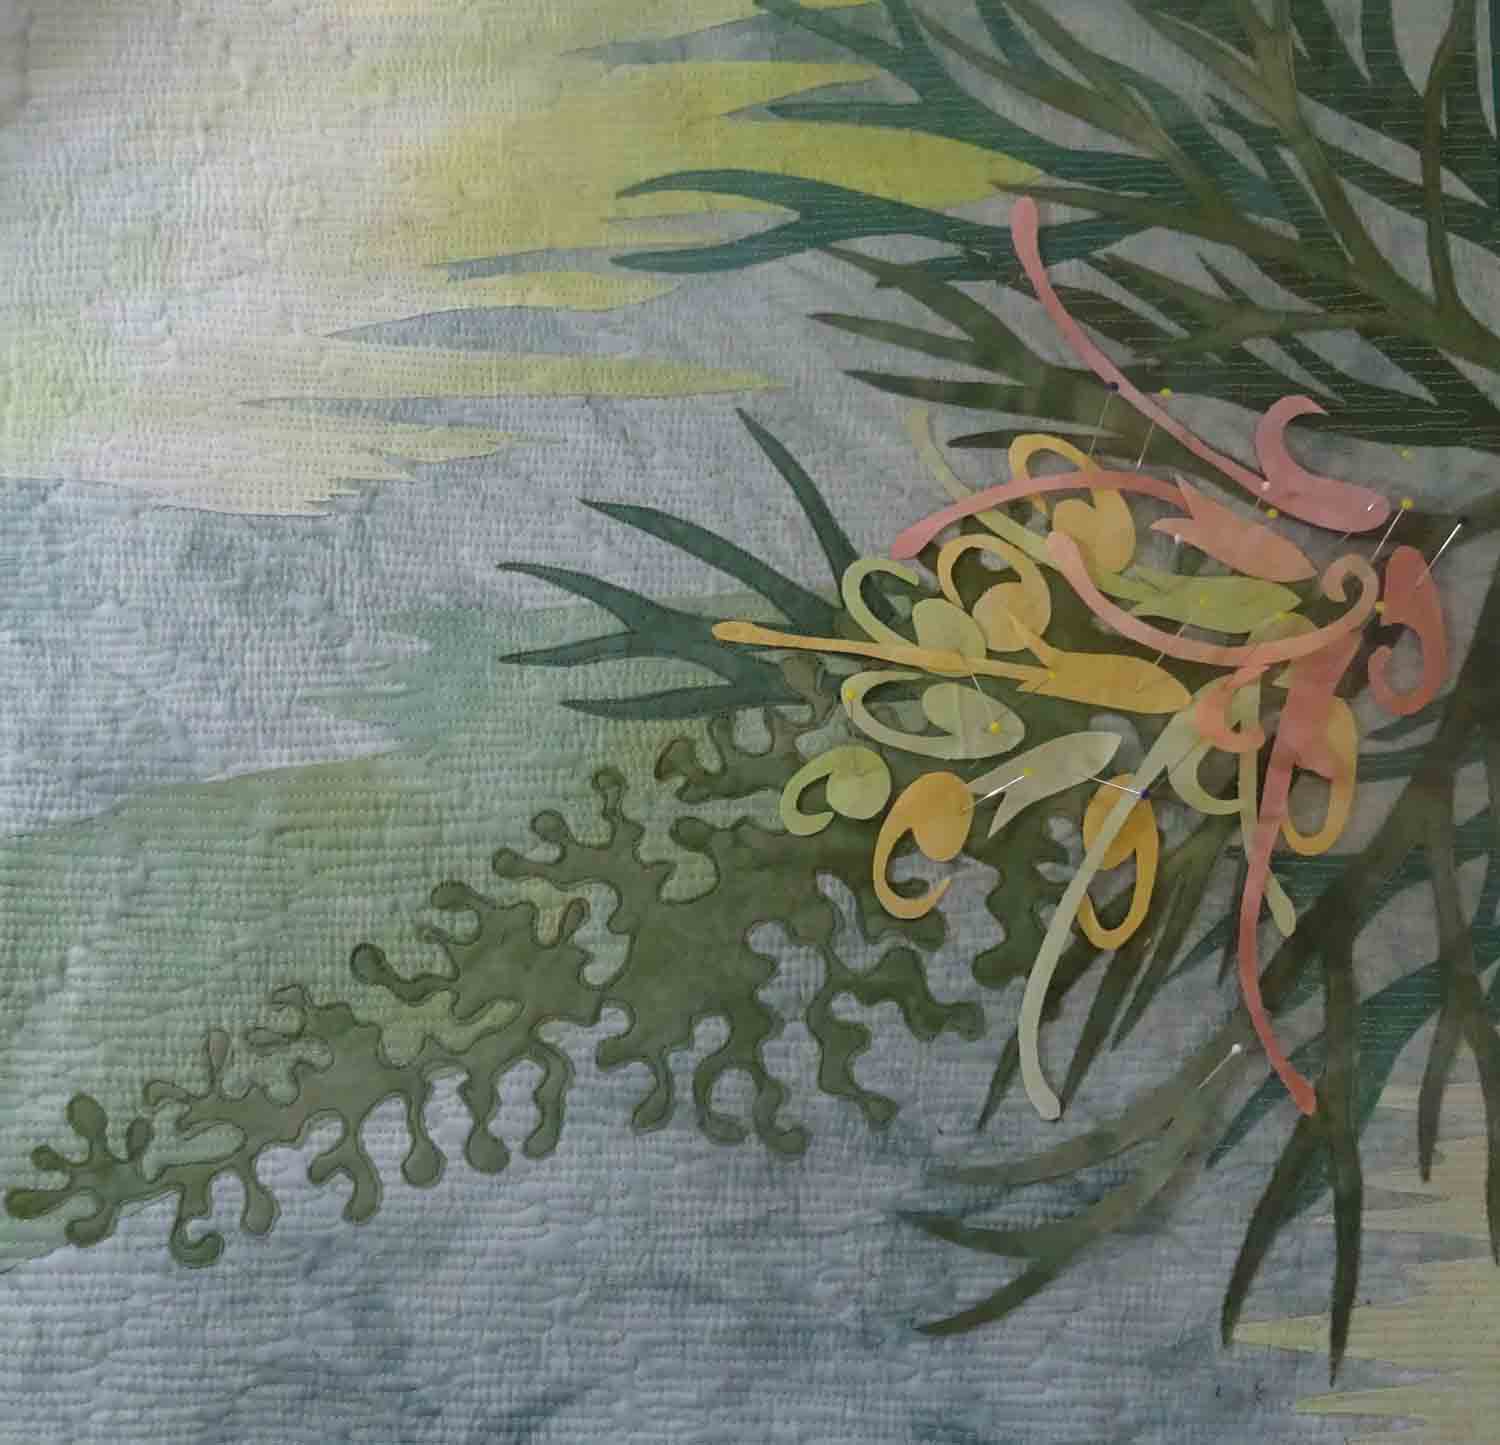
With this piece I added the applique shapes in two steps.  Firstly the main structure of the flower and the leaves and secondly the overlapping flower shapes, stitching them down as I built up the design.

If you have followed previous posts you will know that I have had quite some issues with skipped stitches.  These skipped stitches occur because of movement in the layers as the needle  passes through multiple layers and are very frustrating!!!  By stitching the background first this issue is not longer of concern!!   So making this piece has been a much more enjoyable experience .......

                   'Peaches & Cream' - Grevillea 3   © Carolyn Collins 2017   16" x 16"  

                   'Peaches & Cream' - Grevillea 3   © Carolyn Collins 2017   16" x 16"  

Have you tried stitching first and what did you think about the process???

Thanks for dropping by .....  CC


New Year, New Work and Exciting News for AW5!!

Happy New Year everyone   .... I hope 2017 is full of creative inspiration and lots of good things!!!

To start the year as I mean to continue ......

I have finished a new piece in the Stepping Stones series.   I have been experimenting with new backgrounds for my stepping stones designs.   In this piece I have used  painted fusible as the background  for the open road design .....

                                    'Misty Morning'  © Carolyn Collins 2017   12" x 12"  

                                    'Misty Morning'  © Carolyn Collins 2017   12" x 12"  

I have painted the fusible with diluted acrylic paint.  I have tried to suggest a landscape ..  I tried various  strengths of paint  ....  the addition of some water helps to create an interesting patterning on the fusible and  gives the end result a painterly quality.  I fused the painted surface to a pale green hand dyed fabric.   For the next in the series I'm going to try a seascape!

The good news this week is that the Australia Wide Five Exhibition (including my Forest Pansy piece)  which is touring Australia will also tour in the US this year to the AQS Quilt Week shows in Grand Rapids, Mi chigan;  Fall Paducah, Kentucky and Des Moines, Iowa!!!  Congratulations to the OzQuilt Network organisers .... amazing to have our exhibition showcased in the US!!!

Pushing the Boundaries - Karin Olah

This week I have been inspired by the wonderful work of  textile artist Karin Olah.

I first came across one of her floral works with a wonderful sense of dimension and was intrigued to know how she made it ....

                                                   Magnolia  - Karin Olah

                                                   Magnolia  - Karin Olah

Karin describes her work as "fabric collage painting".  In an interview some years back she says " I cut out my brushstrokes instead of painting them on"......

As I searched to find more of her work I discovered a series of wonderful landscape pieces .....

                                                      Blue Flag Day  - Karin Olah

                                                      Blue Flag Day  - Karin Olah

Karin describes her process ..... " I start with rough outline, a drawing or a little under-painting, and then I start layering fabric.  I soak each piece in rice starch and then squeegee it onto the canvas.  I use opaque and transparent fabrics so you can see a little history underneath in building up the shapes and background."

I love the different textures the different fabrics bring to this work ... it's all about the fabric!

Karin's website is a visual delight ....  you will find it at www.karinolah.com 

Thanks for dropping by ....  I hope you are inspired!!  CC

Monoprints in Green

This week I've been concentrating on two things ....

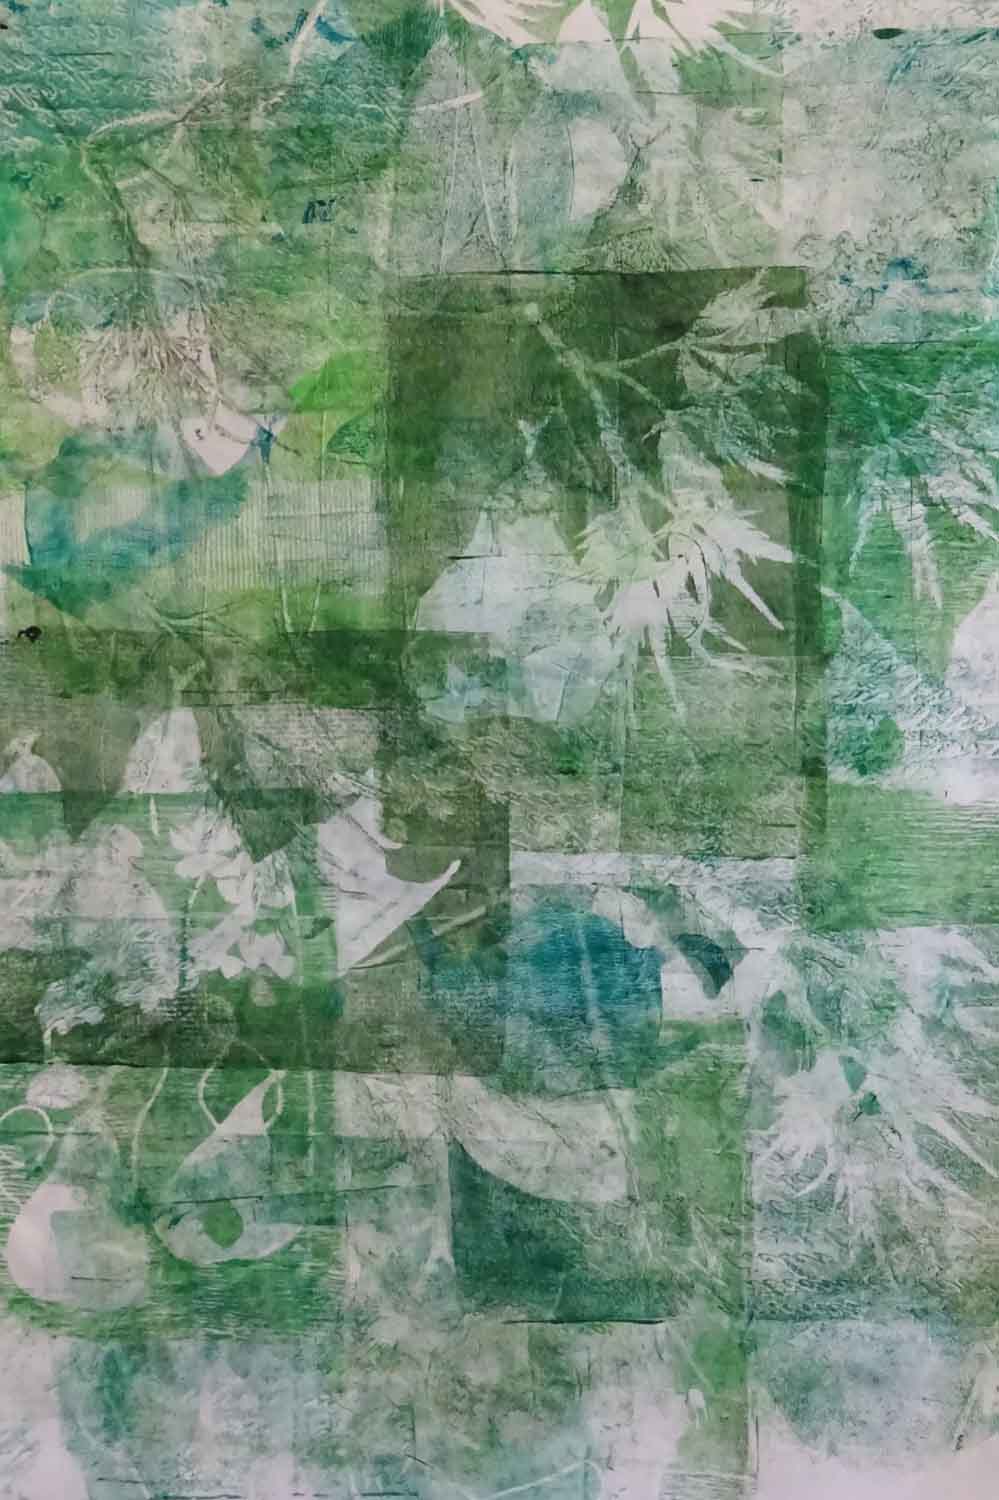
Completing  the stitching on a pair of small monoprints in green .....

 I'm really pleased with the subtle quality of these prints and I'm enjoying the stitching!  

The second focus for this week was the opening of our drawing class exhibition today .....  I helped with the hanging of the exhibition yesterday and was very interested to see how our class teacher,  an exhibiting artist herself,  approached this task.  There was a wide variety of art works to hang and the end result is a terrific display and it all came together very nicely ... here are a couple of photo's from the day .....

So its been a good week.  Thanks for dropping by ..............CC

Pushing the Boundaries - Inspirational Artists

In addition to making art and building a cohesive body of work,  I want my art to keep getting better.     In her book  "The Creative Habit"  Twyla Tharp says .....  "My heroes are artists whose bodies of work are consistently surprising, consistently fresh"    ......  Now that's something to aim for!!

To help push the boundaries,  I've been looking for inspirational  artists using similar techniques to the ones I use, but working in different mediums ...... so I thought I'd share what I find in a series of posts.

This week I've been stitching the blue pieced monoprints I made recently.  I love the intuitive nature of the printing process and the way shapes emerge/disappear through the layers of printing.  So I started looking at artist working with print .....

I discovered  Elizabeth Banfield,  an award wining Australian artist who works with linocuts and prints on very fine Japanese paper.  The results are breathtaking and totally unlike anything I've seen before!!!  Here is an example I found on the web .......

                                                      'Lament' by Elizabeth Banfield        &n…

                                                      'Lament' by Elizabeth Banfield

                                  Linocut on two layers of tissue paper with hand stitching

Click HERE for  a link for Elizabeth Banfield's  website.  Her gallery of art work and  her step by step instructions for making prints with linocuts are well worth a look if you are tempted to try your hand!

Thanks for dropping by .....  CC

"Draw" Exhibition Invitation

The drawing class I go to is having an end of year exhibition at the local Regional Gallery.   We've started planning and getting our work ready .... a great learning experience for me.

I volunteered to put together an Invitation/Flyer for the group.  This week,  I worked out 4 designs/layouts and the class members voted .... 

This is the design that they chose.....

DrawingInvite.jpg

I am very happy that my teacher is going to let me include my Mangroves textile piece in the exhibition ... it was inspired by trip the class made to the Mangrove walk at Huskisson  and the drawing work  we did.

It will be fun seeing how it all comes together .....

Thanks for dropping by .....  CC

Grevillea Series #2

This week I've been working on stitching the second Grevillea  piece ....   the applique and the quilting stitches .....

                                                              Stitching  "Grevillea 2"

                                                              Stitching  "Grevillea 2"

It's all come together well with no dramas, even with the layer of printed organza.  Using reverse applique for the background has meant there are not too many layers to stitch through!!  Here is the result ................

       "Grevillea 2"       © CarolynCollinsArt 2016    16" x 20"   Hand dyed and printed fabric

       "Grevillea 2"       © CarolynCollinsArt 2016    16" x 20"   Hand dyed and printed fabric

I'm happy with this piece  ....  although I can see things I could do differently!!   So there  is definitely another piece to follow ..... its a Series thing!!!  

Just the backing and facing and a "name"  for the piece to go ....

Thanks for checking out my new work .....  CC

More Monoprinting ....

I've had inspiration about some monoprints I made recently ....  

After the first series of monoprints which I framed as individual prints,  I tried printing a larger piece of fabric with the idea that I would cut it up and work with the smaller pieces.

Nice idea but I still wasn't sure where I was going with these monoprints  .... till I was sorting out some of my hand dyed fabric and found some pieces that seemed just right  .... and here is the result .....

The red brown strip was initially a bit stark so I added some paintstik rubbings to soften the effect ....  I'm very pleased with the result so now for the quilting !!!

In fact I was so pleased thought I'd do a little more monoprinting .....

MonoprintGreen1.jpg

So I'm looking for green fabrics  ......

Thanks for dropping by  ....   CC

More Reverse Applique

This week I've been working on two new pieces for the Stepping Stones Series.  

I love stitching the reverse applique and with these new pieces I decided to put the horizon line behind the applique ... like a landscape within a landscape .....

Part way through the applique process,  I wondered what if I only reveal part of the landscape and left some of the stepping stones in the top fabric ... and stitched the stepping stones shapes but without revealing the landscape beneath .

Here is the finished result .....

                 Stepping Stones Series # 12  ' Open Road'  12"x12"   © CarolynCollinsArt 2016

                 Stepping Stones Series # 12  ' Open Road'  12"x12"   © CarolynCollinsArt 2016

Tried a reversal of the color combination for the second piece .......

      Stepping Stones Series #13  ' Over the Hills ....'   12" x 12"   © CarolynCollinsArt 2016

      Stepping Stones Series #13  ' Over the Hills ....'   12" x 12"   © CarolynCollinsArt 2016

I'm off to stitch this second piece ....  Thanks for dropping by   CC

Grevillea Inspiration and Design

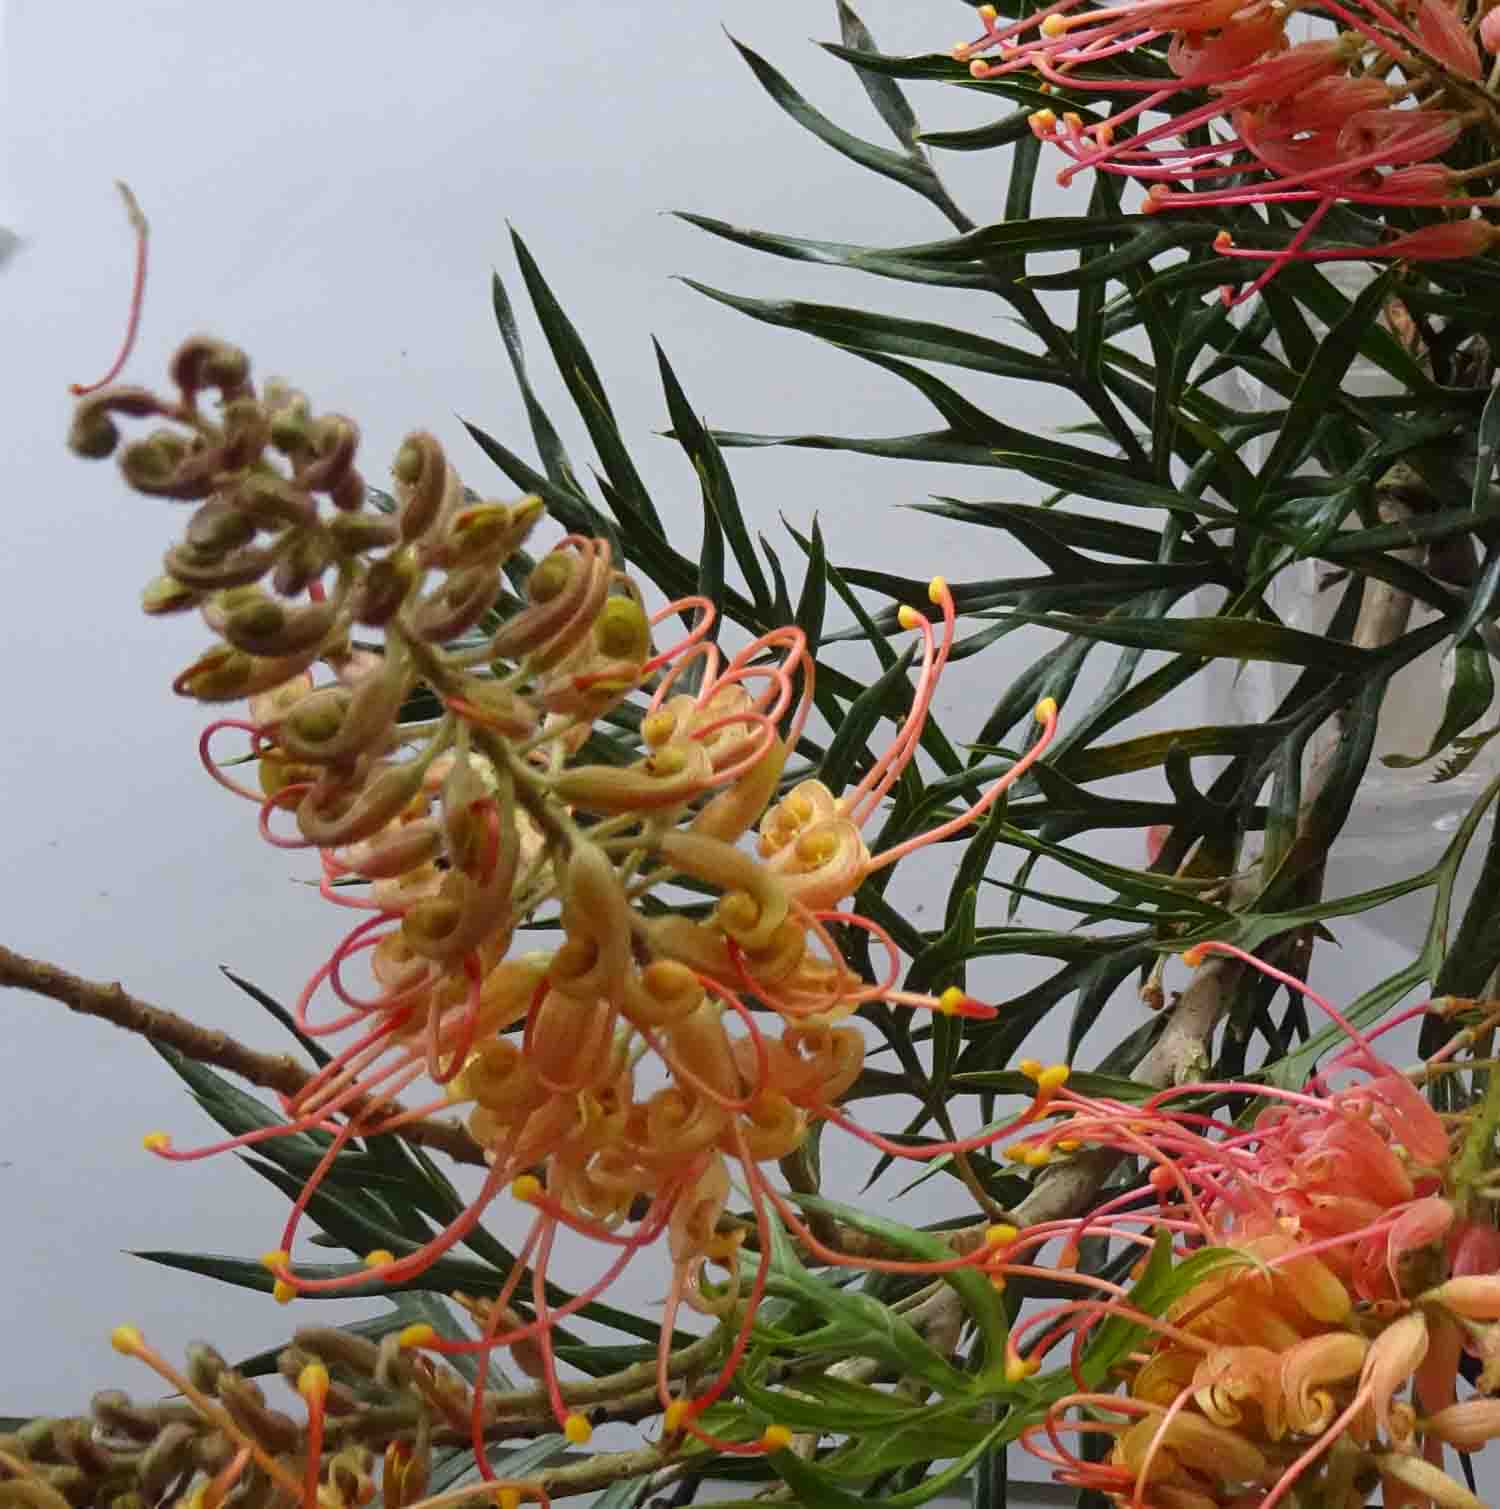
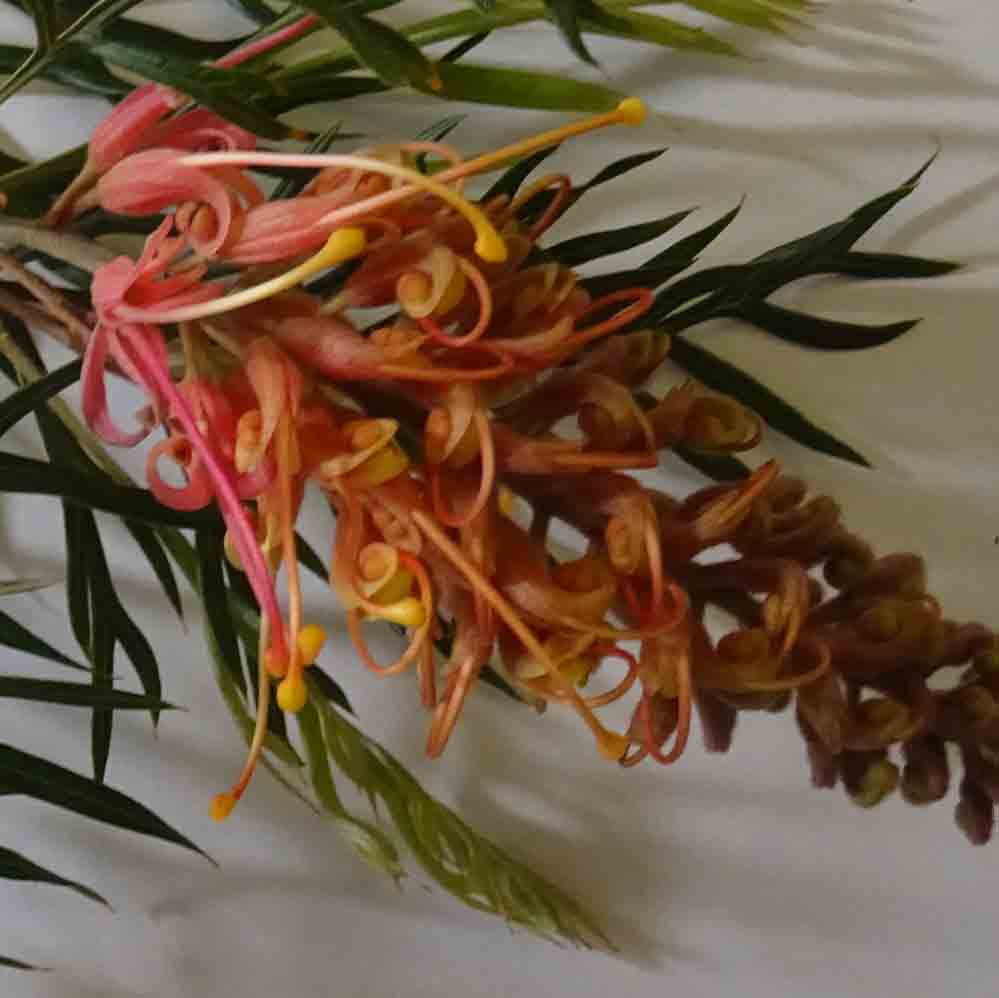
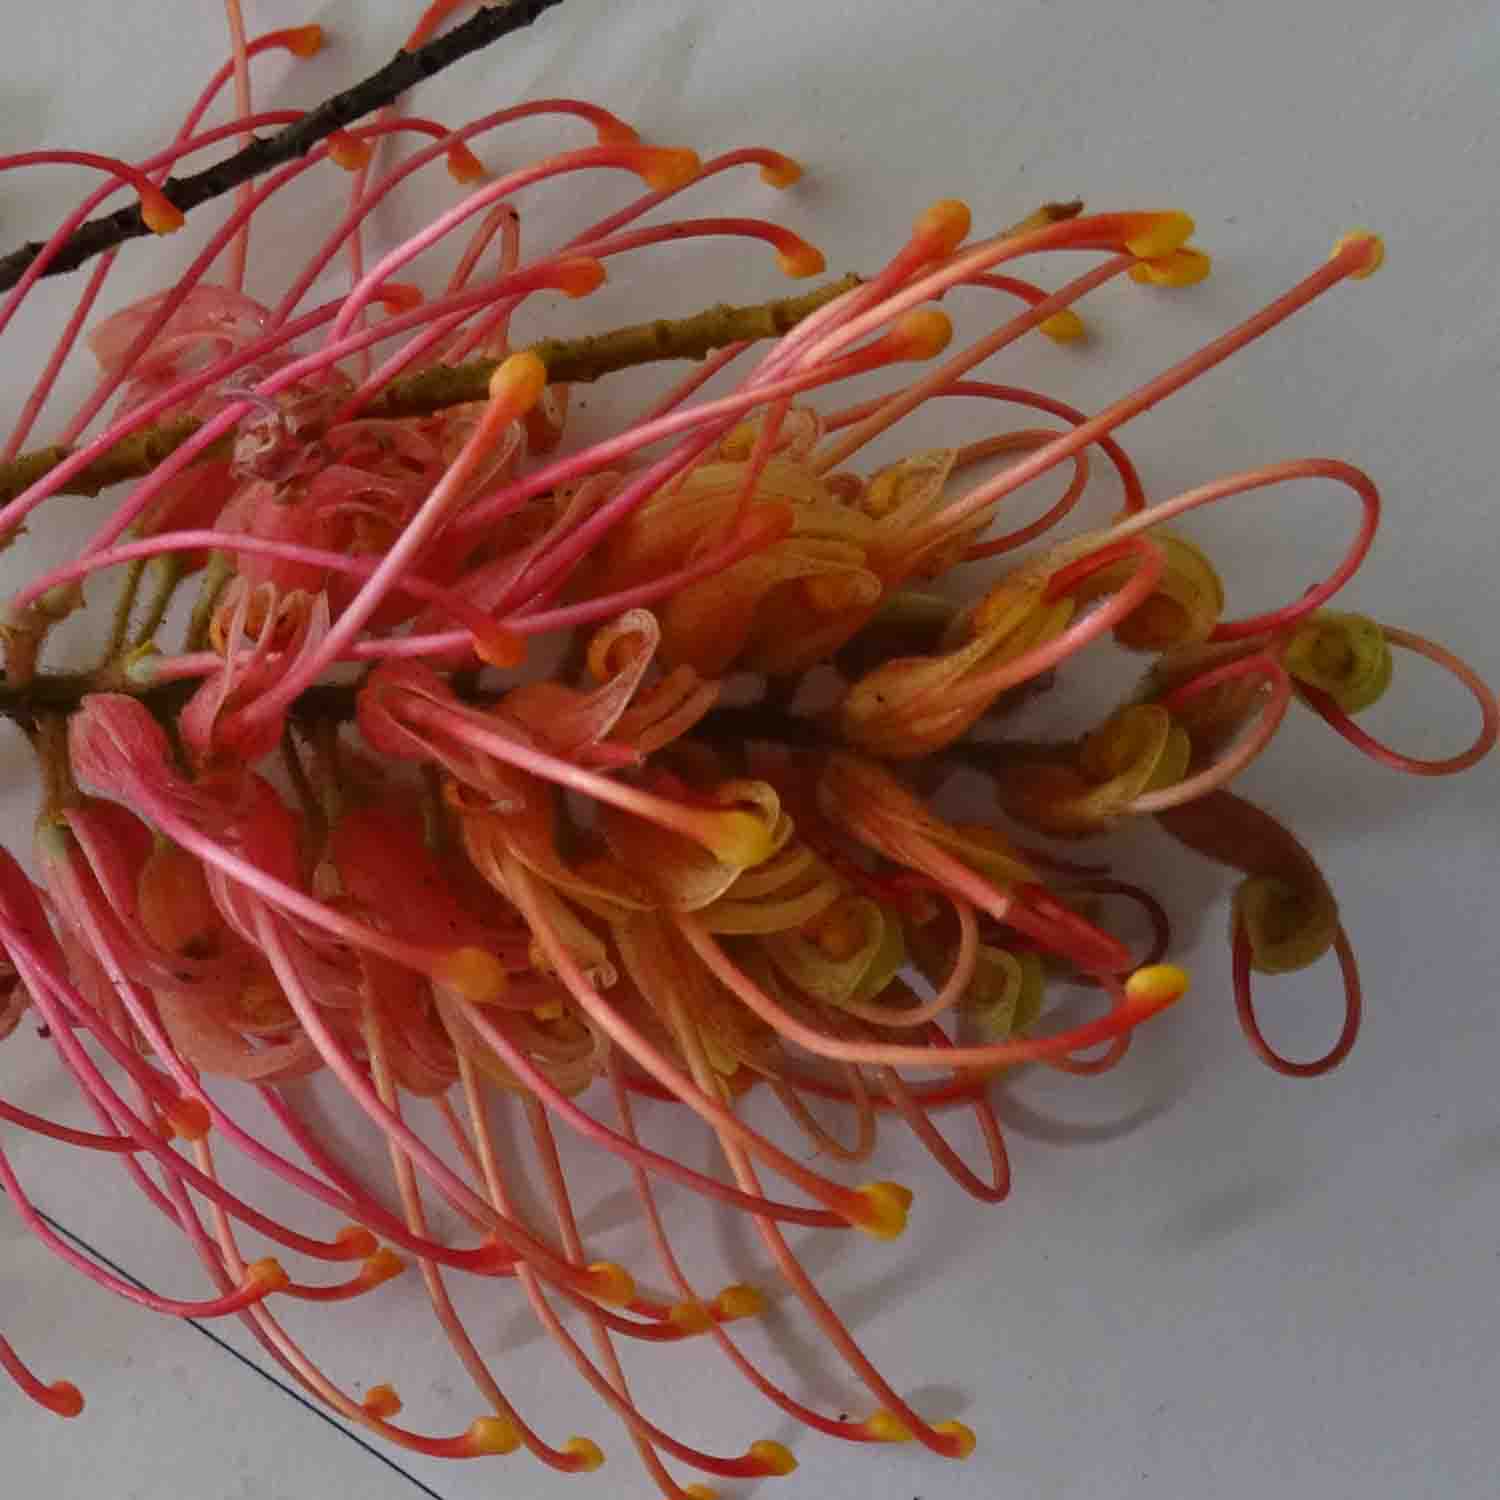
I love the Grevillea flowers in my garden this time of year  .... I've  been taking more  photos 

and have been comtemplating a number of different design options  ....

My first effort looked quite interesting on the design wall but turned into a disaster when it came to stitching the design ........ too many layers of fusible and fabric for my machine to handle - I used the leaf print on organza for the background and this may have contributed to the stitching problem ....

For my second effort,  I decided to rework the design and  use reverse applique to reduce the number of layers to stitch through and then add applique shapes   ... much happier with this version ....... though the design still needs some work .....

I'm going to try some new compositions for the next piece in this series ....

Thanks for dropping by    CC


Australia Wide Five & Art Studio Re-organised!!

This week  I am celebrating some achievements ...... 

Firstly, the OzQuilt Network, Australia Wide Five Exhibition opened at the Bunbury Regional Art Galleries,  64 Wittenoom St Bunbury on Friday 23 September and runs to Sunday 6 November 2016 before continuing on tour.  The gallery is open daily from 10am to 4pm and entry is free.

My piece 'Forest Pansy' is part of this Exhibition.  Click here to see all of the fabulous work that will be on tour.

Secondly .....  its done!!  After the delivery disaster earlier in the month, I took the opportunity to revisit the plans for my studio and decided to 'keep it simple'!!!  

Feels so light and spacious now and there is room for all the important things ... including a spot for my devoted poodle!!!  Now I just have to deal with the chaos in the spare room!!!

So it's back to work ....   

Thanks for dropping by .....   CC


Translation to Fabric

Its the end of Term 3 of drawing class and I've been looking over the work we did.  

Two classes stand out because they lots of fun and because I am thinking the approaches used could translate into fabric and make very interesting backgrounds

The first involved an excursion to a local creek and walking track ....

.....  here we collected natural materials from around the site .... grasses, bark, twigs, stones and seedpods ..... whatever took our attention and these were laid on our paper ... to act as natural stencils.  We sprinkled them with graphite powder and then sprayed with acrylic inks and then left them to dry before drawing the landscape using just charcoal and sanguine.

This dual connection between the found materials and the landscape produced some lovely results.  Here is my effort .. doesn't look too much like the actual landscape!!! 

The second class that offered  translation potential involved 4 panels and 4 compositions made up of shapes and inspired by  foliage of our choice .

Each panel had to work as a composition as did the combined panels.  

Dark and light tones were added and then combinations of color to provide the mid tones.

This process produced some very interesting abstract compositions that seem to have the potential to translate easily into fabric.

I  chose Magnolia leaves for the foliage and was very pleased with the composition of shapes in the 4 panels.  Here is my work so far..... although not happy with the colors however I can see potential ....

I'm keen to try some more  combinations and variations of tone and color and over the break  will experiment with these ideas and see where it leads.......