Art Quilt

Art Quilt Australia 2017

The last few weeks I've been spending quite a bit of time helping with the Art Quilt Australia 2017 Exhibition and Advancing Art Quilts Conference organised by the Ozquilt Network Inc .... I have recently joined the Ozquilt Executive Committee ....

The Art Quilt Australia 2017 exhibition was officially opened on 8 September at the Queen Victoria Art Gallery (Royal Park) Launceston and the winners announced.....

You can see all of the fabulous works in the exhibition including the prize winners in the online gallery posted at https://www.ozquiltnetwork.org.au/exhibitions/art-quilt-australia/

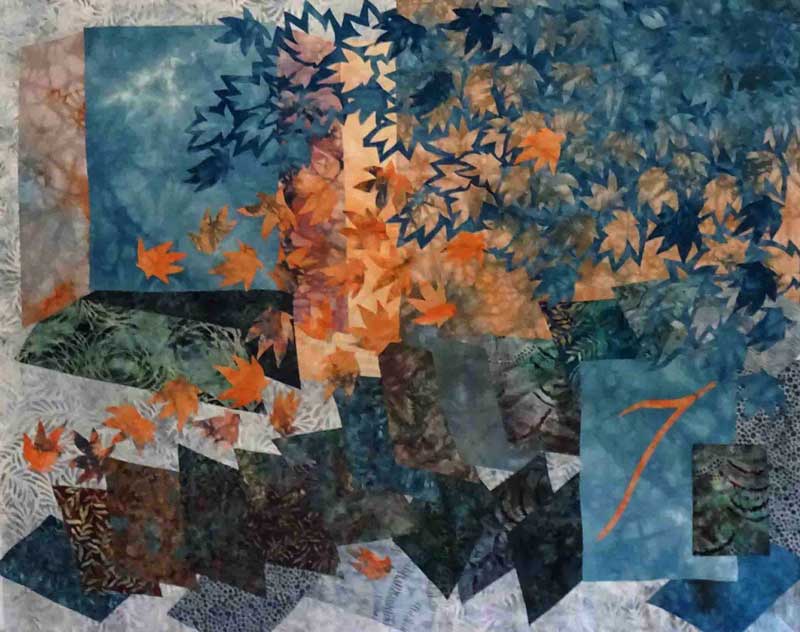
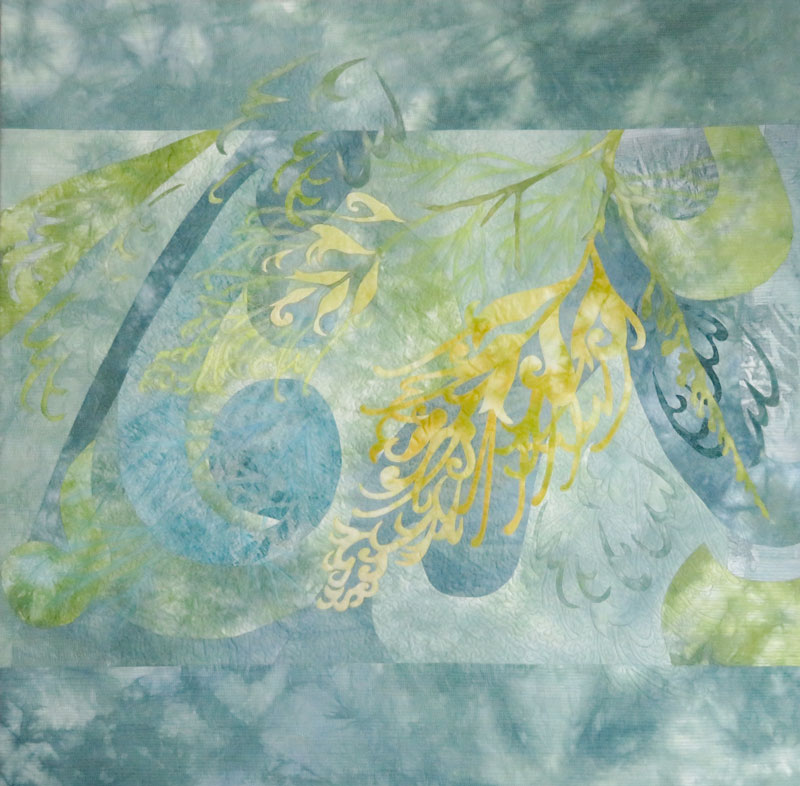
I was delighted to have two of my works included in this juried exhibition.  'Autumn Winds' (left) which I made in 2016 and 'Grevillea Moonlight' (right)  which I made this year ......

The Exhibition is an excellent showcase of the creativity and diversity of Australian textile arts  and has been described as .....

"A collection of bold, intricate and colorful contemporary textile artworks .....  

The materials, colors and techniques used to create this fantastic exhibition are simply incredible and there is an amazing breadth of talent on display"  

The Catalogue of the exhibition will also be available for purchase from the Ozquilt Network website.  Here is an image of the Cataloque cover ...

AQA2017-Cataloguepromo.jpg

Hope you will have a look at the amazing textile art in the online gallery!

Thanks for reading ......CC


Adding Color & "Fugitive Media"

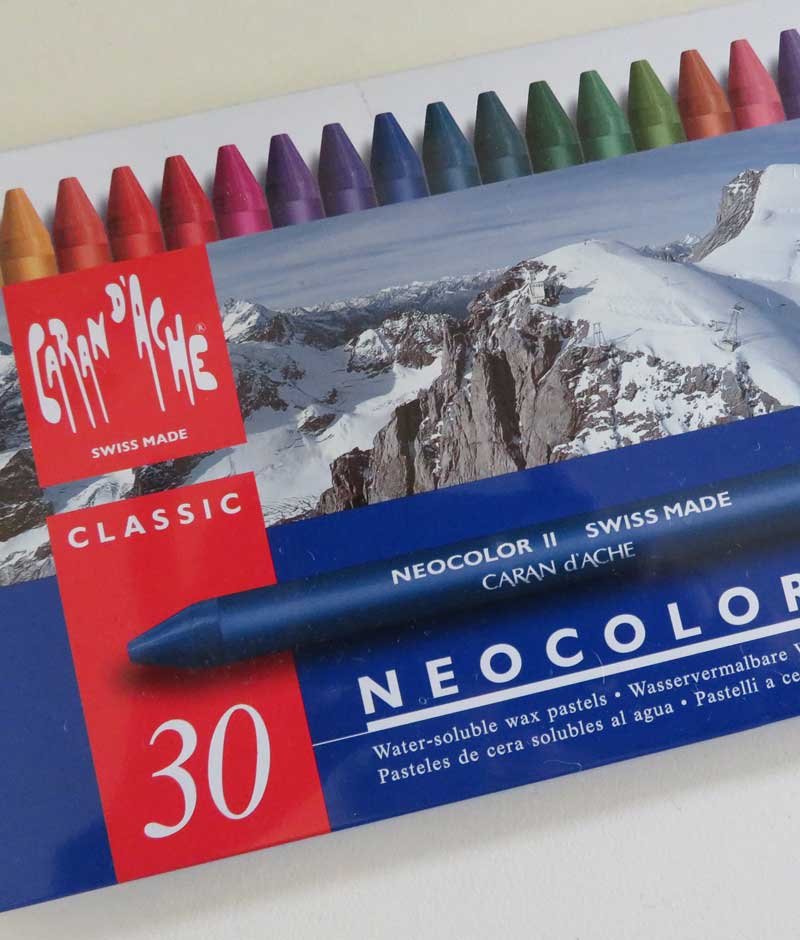
As I was finishing the latest Grevillea piece I wanted to add some extra color to the quilting design ... while there are lots of ways to do this,  my favorite media at the moment is the  NeoColor 11  Watersoluble wax crayons ..... 

 The question is ......  what is the best way to make them permanent on fabric?

This week I discovered an interesting article written for Quilting Arts TV by Kerr Grabowski with the intriguing title " Making Fugitive Media Permanent on Fabric" .   The article advises applying a layer of transparent base extender, normally used to lighten textile inks and bond them to fabric.

So for this exercise I coated the areas of Neo Color 11  with the extender using a paint brush ... the extender has the consistency of a thick cream ... so that makes it easy to apply!! 

This extender can be used to make NeoColor 11,  Soft pastels and charcoal permanent on fabric! So there is more experimenting to come!!

Thanks for reading .... CC


New Grevillea Artwork Underway

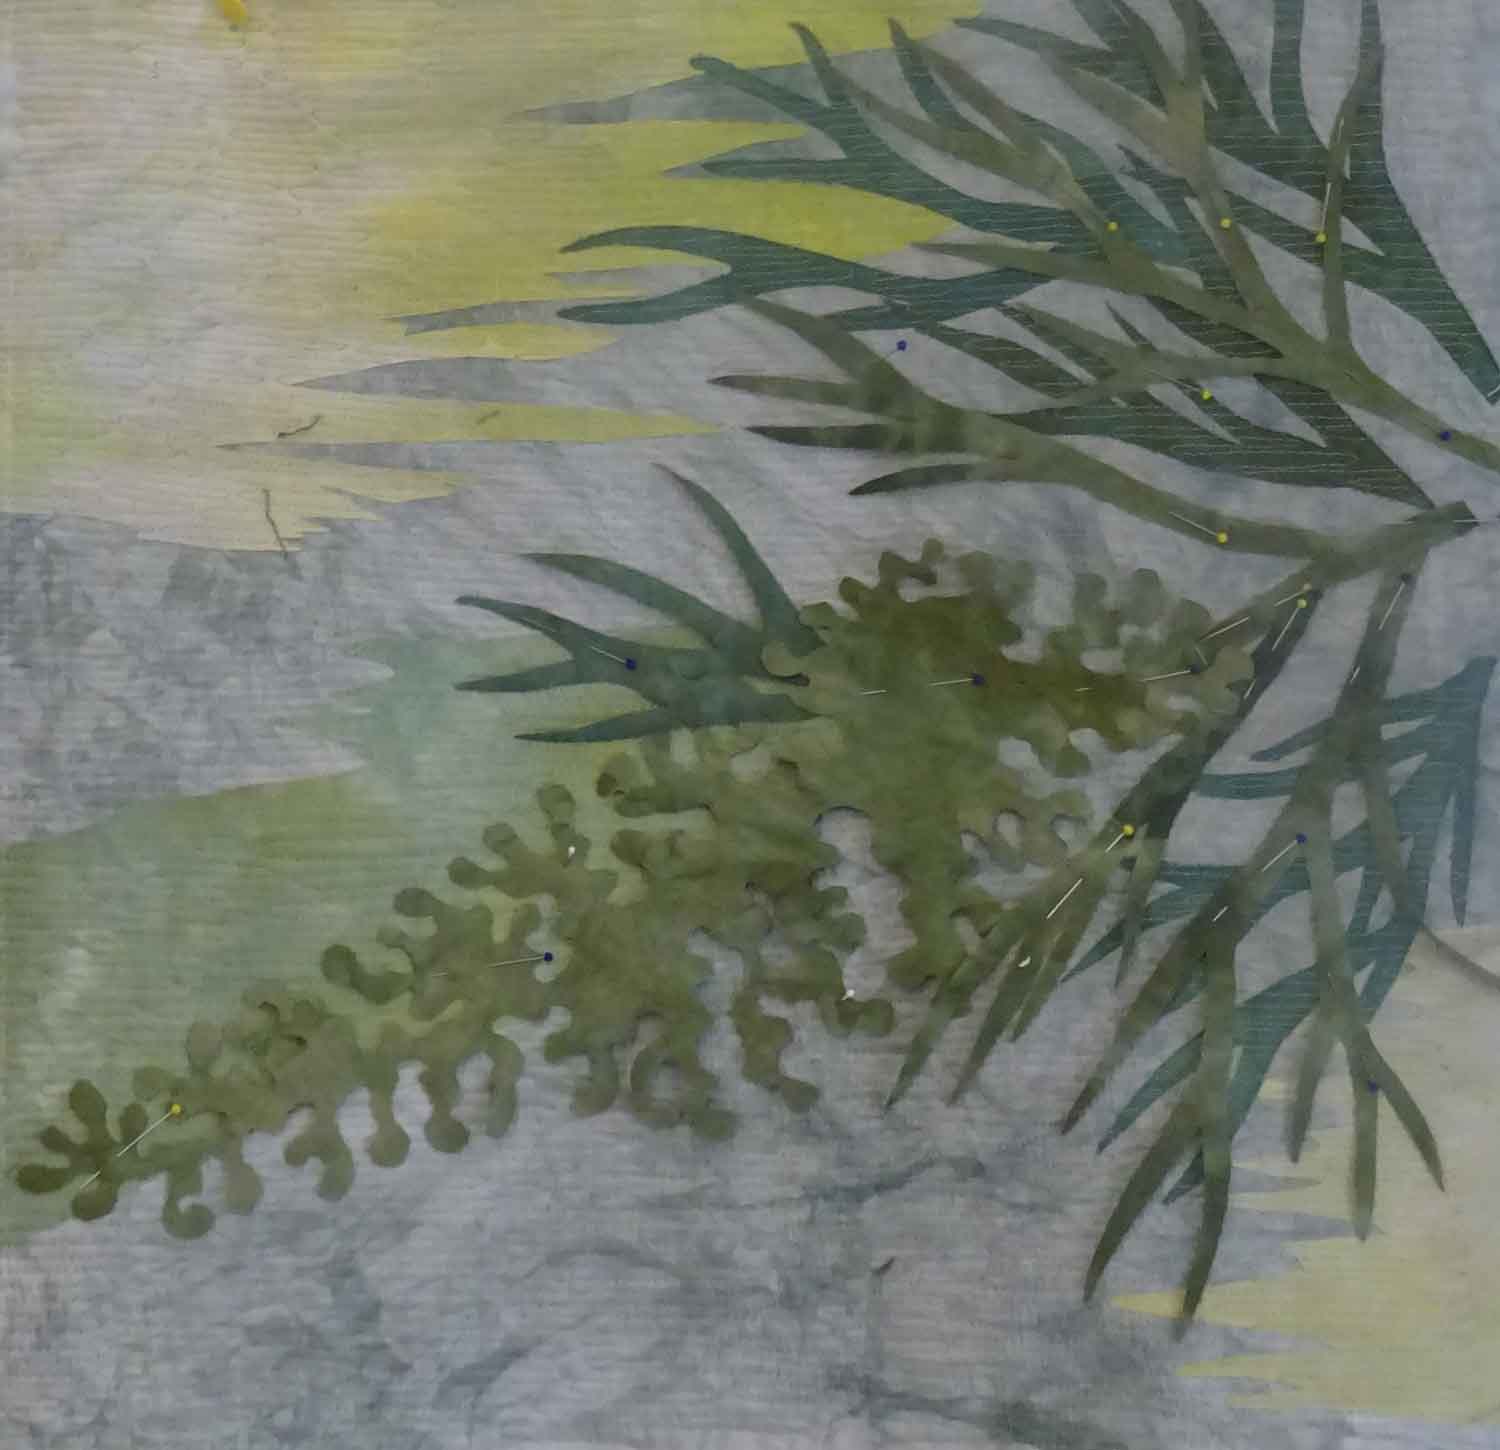
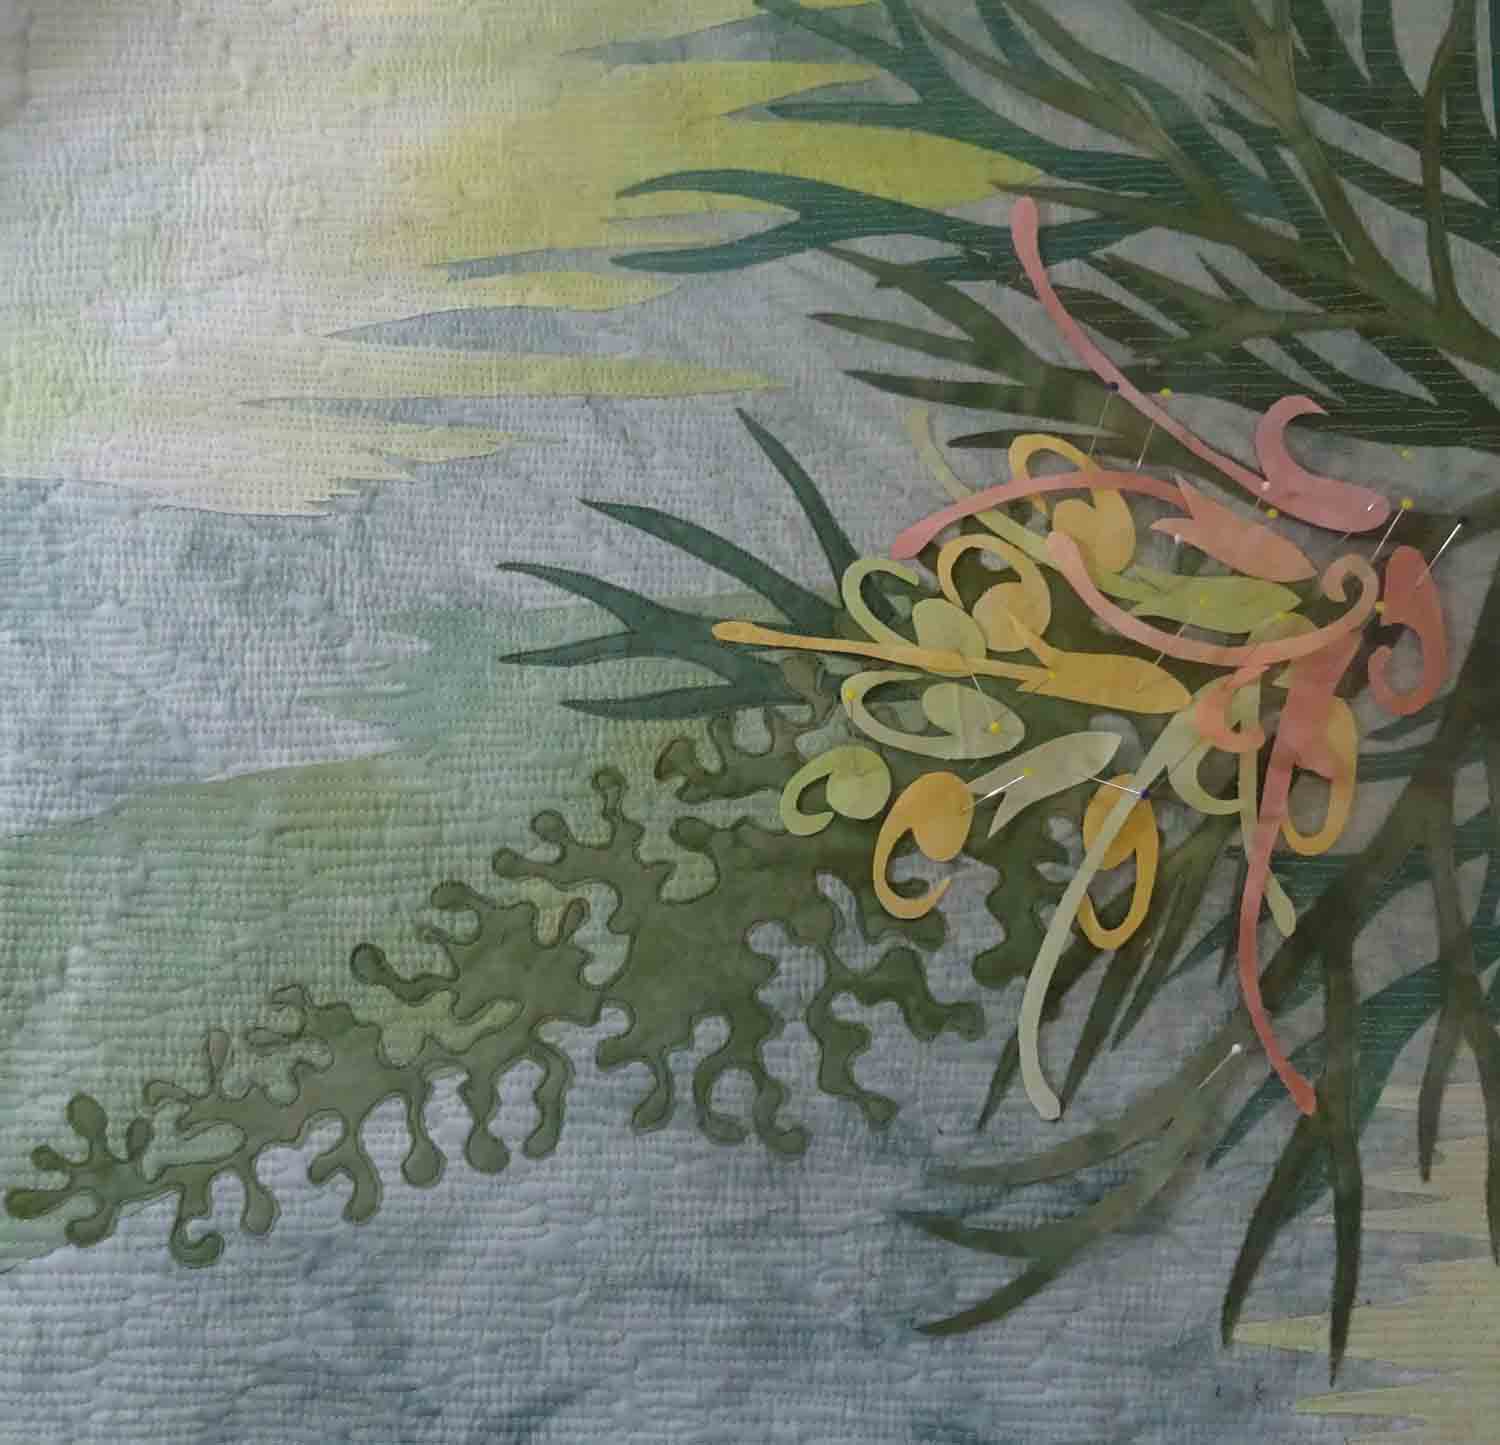
This week I 've had my head down,  working on the next Grevillea piece and specifically the stitching ....  

The design has come together with the applique and reverse applique completed.  This piece at 20" x 30"  is somewhat  larger than much of my recent work ... so its taken a bit longer to get to this stage and takes more time to stitch and there is a deadline looming!  Great motivation!!

The big questions now revolve around the quilting and choice of thread color.  After a few experiments,  I've settled on the stitching around  the flowers and the reverse applique shapes, but have yet to decide on the other areas!!  

                                  © CarolynCollinsArt 2017  'Grevillea 8  Detail'   

                                  © CarolynCollinsArt 2017  'Grevillea 8  Detail'   

So back to the stitching .....   Thanks for reading ....  CC

Studio Art Quilt Associates (SAQA) 2017 Benefit Auction

This is the 11th year of the SAQA Benefit Auction,  which raises funds to support SAQA's exhibitions, publications and educational programs.

Last year more than 430,  12" square quilts were included in the auction ... the largest number ever!!   "When the auction started no-one knew how it would be received or how much fun it would be to keep creating quilts year after year"

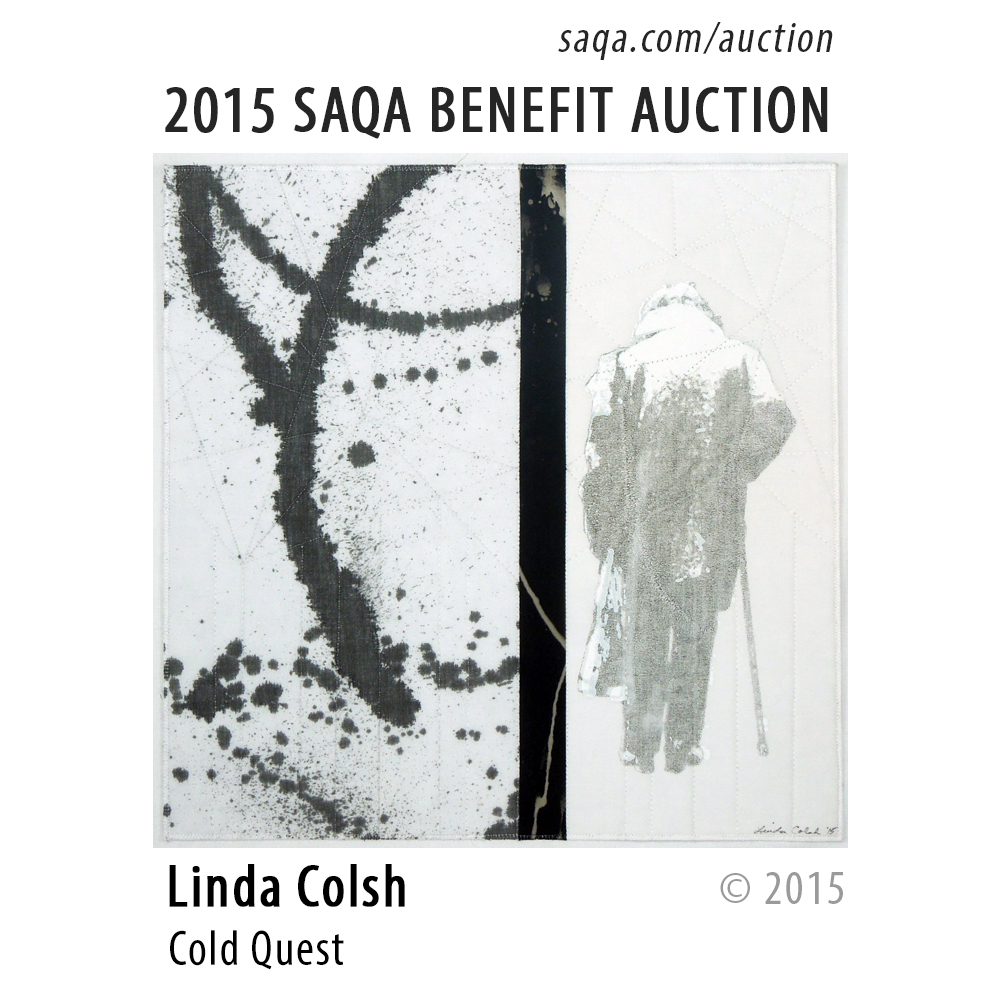
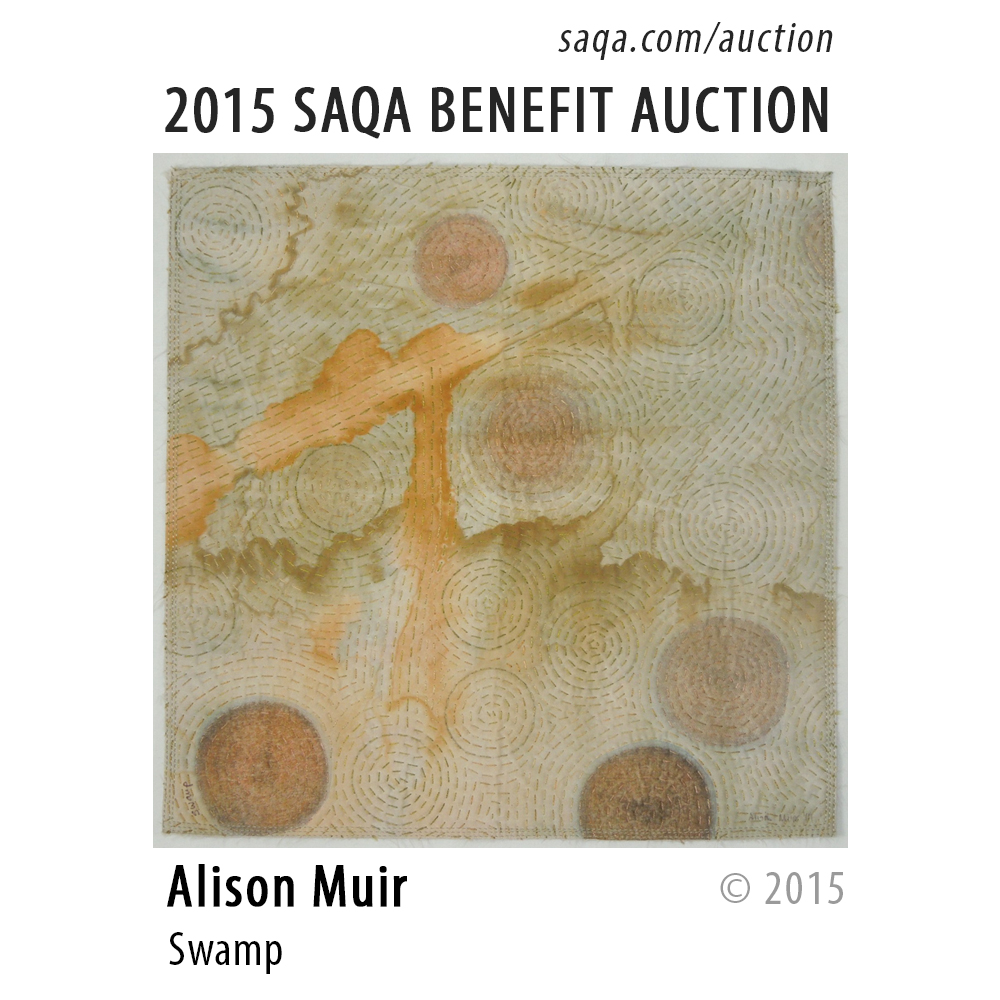
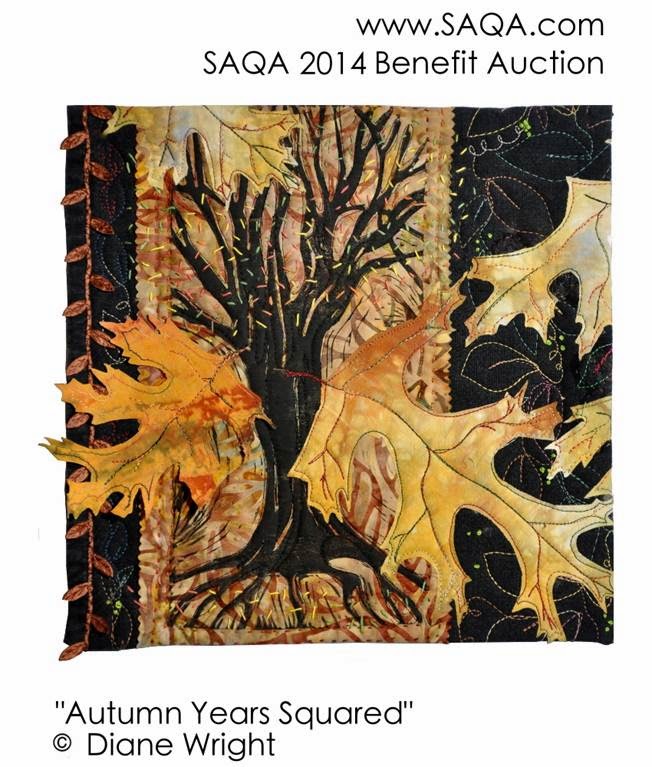
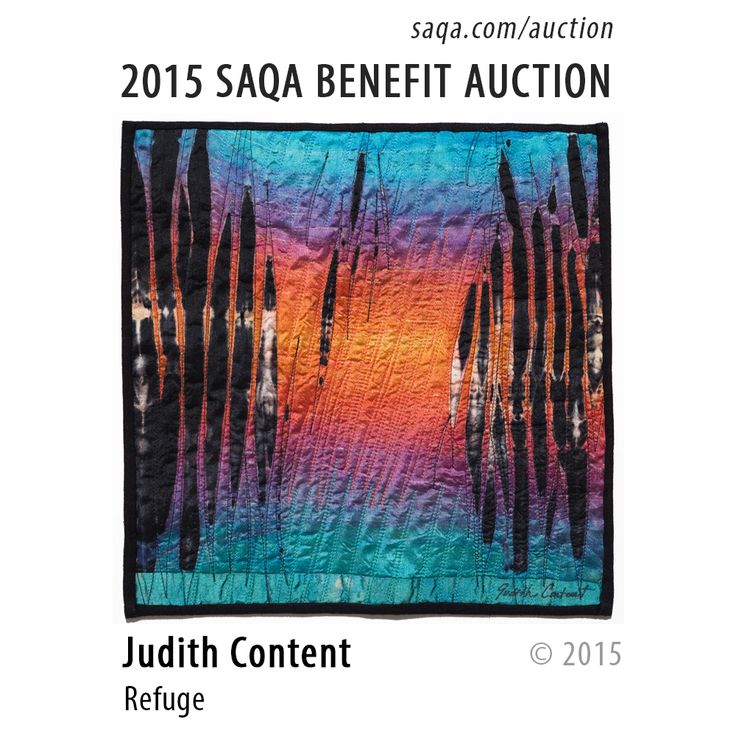
SAQA reports that there are 15 artists who have donate every year since the start in 2006 andI thought it would be fun to have a look at some of the artworks donatedby these amazing artists ......

This is my second year of donating to the Benefit Auction ....

I've sent this piece for the 2017 Auction .......  it's one of the grevillea samples that I made earlier in the year ....

Grevillea

'Sunset Bronze'

CarolynCollinsArt 2017


You can find out more about the SAQA Benefit Auction and see all of this years donations at www.saqa.com

Perhaps you might find an artwork you love !!! 

Thanks for reading .....  CC

Art on the Wall

This week I've been focused on getting 'art on the wall'!

The first task was to deliver artworks to Jing Jo's Cafe in Kangaroo Valley for the new show 'Still Life' which was hung this week.  If you happen to be in the vicinity I would highly recommend dropping in for a coffee and checking out the art!!

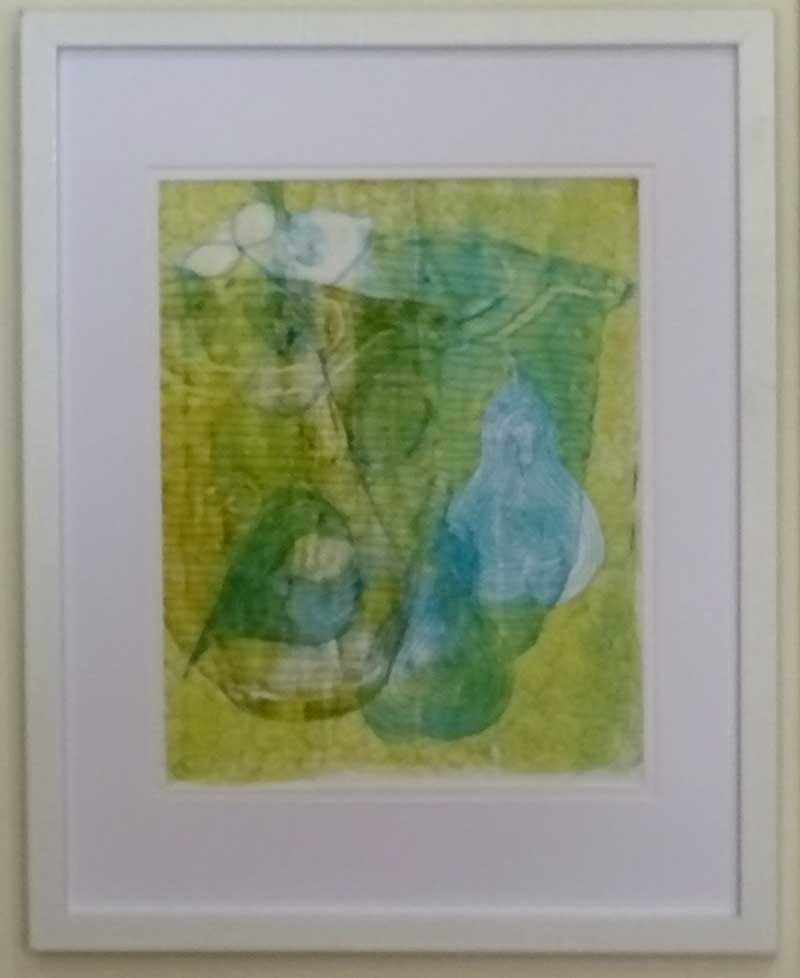
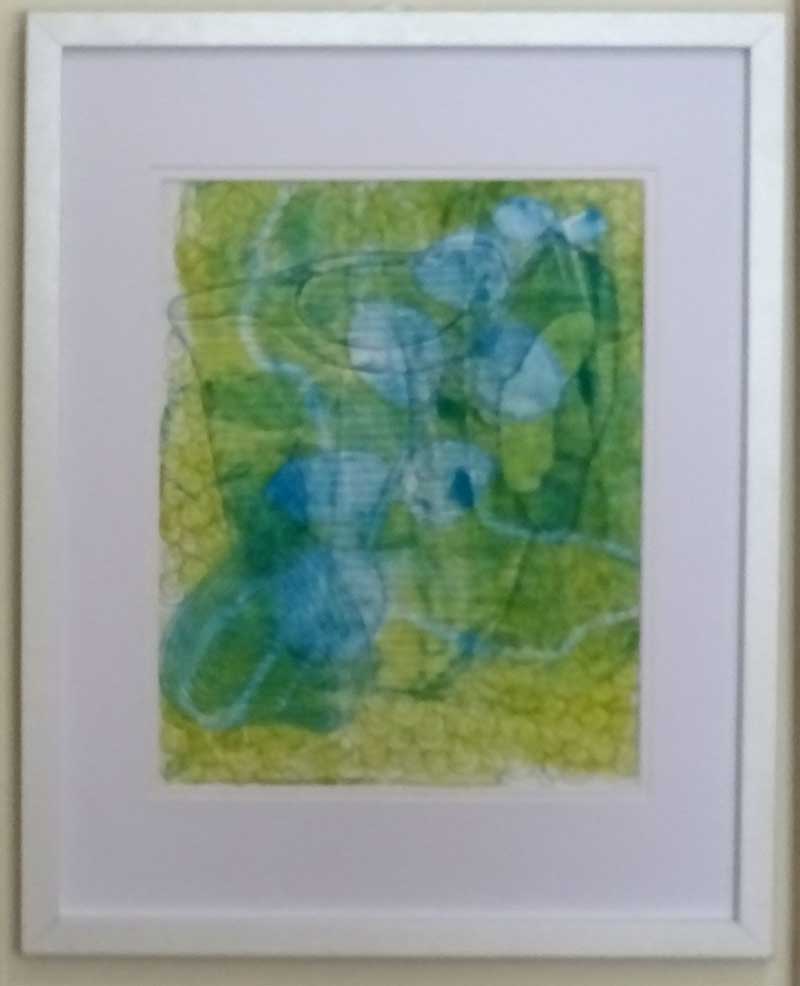
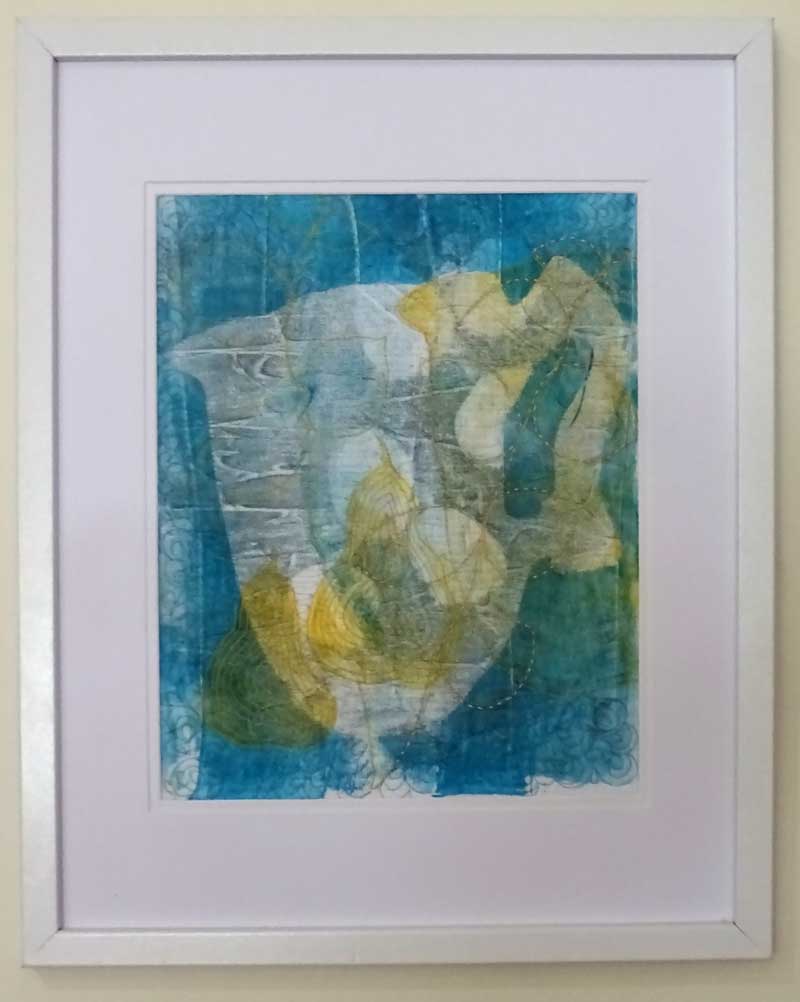
I sent across three of my framed and stitched 8" x 10" monoprints .....

as well as a larger, pieced and stitched monoprint  16" x 20"  mounted on a stretched canvas ....

StitchedLifeinBlue1.jpg

Stitched Life in Blue 1

It's always a challenge for me to photograph groups of artwork on the wall  ... we have an old house with lots of timber panels and strips of timber dividing the wall space.  

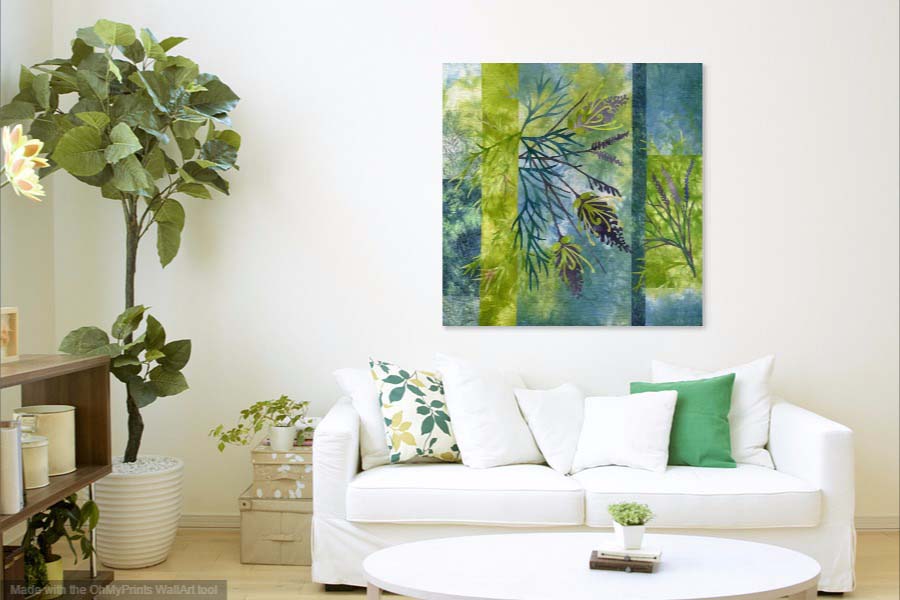
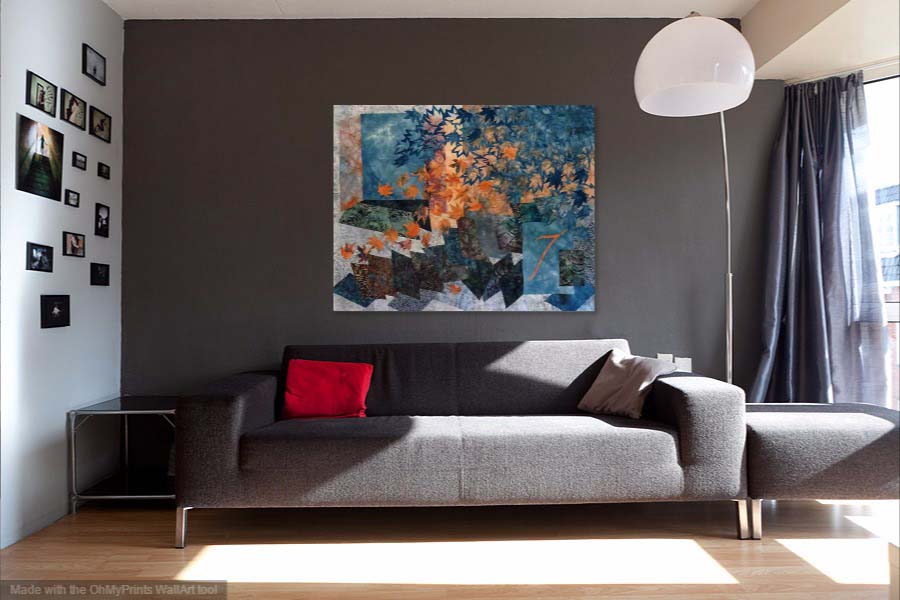
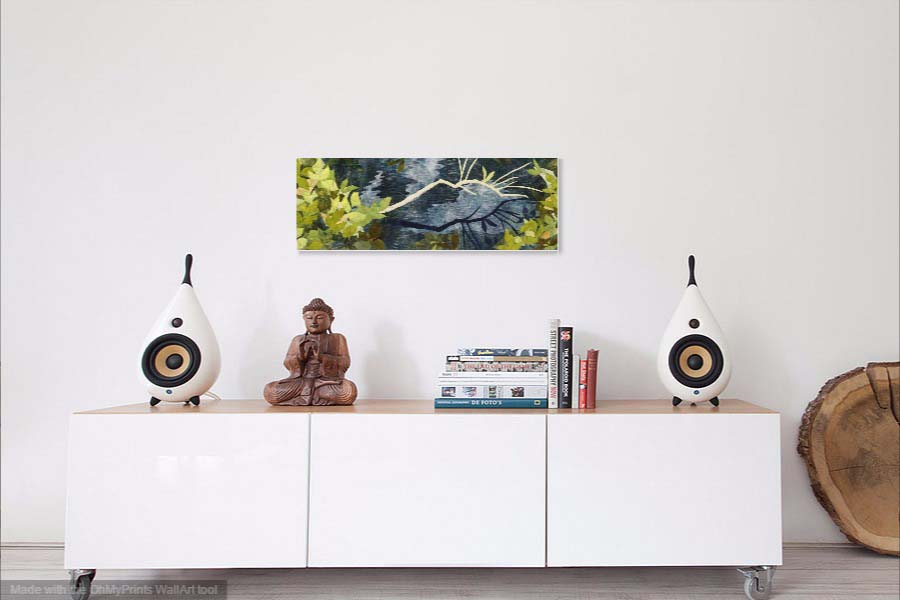
So while I was browsing the internet for some ideas, I came across a free app called WallApp which lets you upload a photo of your artwork so you can see what it looks like in a room/living space - there are half a dozen room options and you can also upload a photo of your own room.

Here are a few examples ......

It's very easy to use and quite fun!!! 

This led me to thinking about the reasons for choosing a piece of original art/textile art for your home.  The following are my thoughts about the possible reasons .....

The textile art creates a mood or feeling that can evoke memories or take you to another place.  It adds personal character,  can provides a color palette for the room and makes a room feel finished.  It's something to look at and contemplate,  especially  if it is a work that speaks to you .....  and can inspire and foster creativity.

Textile art particularly,  adds warmth and a softness,  it creates a connection with the makers hand that has created the work and to a long tradition working with fabric and stitch.  

What draws you to a particular piece of art/textile art ... something you own or would like to??  Please comment on why you have chosen to buy a  particular piece of art....

Thanks for reading .... CC

New Grevillea .... experiment

With all my new found Photoshop Elements skills .... I am doing the second module of the "Photoshop Elements - Essentials 2"  online class with the Pixeladies,  Deb Cashatt and Kris Sazaki ....  I've been playing with ways of creating simplified/abstracted grevillea designs!

This is terrific fun and as you might imagine I now have a stack of design possibilities!!!!   

The next questions is how to translate these into fabric!!

My first idea is to try a version of shadow applique ...  working from the abstract design  to create a base layout made up of geometric shapes and then combining this  with a digital image of the flower printed on organza,  as an overlay.

I found an interesting piece of fabric with a range of shades of  plum and pink .... not a piece that inspired me when I dyed it some time ago but perfect for this experiment and a soft mottled green to use for the background.  After fusing the geometric shapes .... some very thin and too small to applique with my usual technique ... I added to overlay of printed organza.  This is how it turned out ......


"Grevillea 6"

CarolynCollinsArt © 2017

8" x 16"

Hand dyed and printed fabrics, digital image


After some time contemplating the possibilities, I decided on a mix of hand stitching  .... a running stitch and some seed stitches  and a simple horizontal machine line to finish.   The overlay makes working with thin strips and small shapes very stress free!!!  

I like the results of this experiment .....  but there are more ideas to try !!!

What have you been experimenting with lately??   

Thanks for dropping by .....CC


Stitch First Applique Later!

With my new Grevillea piece I reversed my usual construction process by stitching the background before the applique!  Now this is not a new idea but one I've avoided because I like the flexibility that finalising the composition first allows.  Stitching first requires a bit of a leap of faith!  

Step one was stitching the background.  Doing the stitching first makes the process very easy, no shapes to navigate around so the stitching is very fluid and it's easy to achieve a good result.  It also helps to integrate any additions/variations in the background design.

With this piece I added the applique shapes in two steps.  Firstly the main structure of the flower and the leaves and secondly the overlapping flower shapes, stitching them down as I built up the design.

If you have followed previous posts you will know that I have had quite some issues with skipped stitches.  These skipped stitches occur because of movement in the layers as the needle  passes through multiple layers and are very frustrating!!!  By stitching the background first this issue is not longer of concern!!   So making this piece has been a much more enjoyable experience .......

                   'Peaches & Cream' - Grevillea 3   © Carolyn Collins 2017   16" x 16"  

                   'Peaches & Cream' - Grevillea 3   © Carolyn Collins 2017   16" x 16"  

Have you tried stitching first and what did you think about the process???

Thanks for dropping by .....  CC


More Reverse Applique

This week I've been working on two new pieces for the Stepping Stones Series.  

I love stitching the reverse applique and with these new pieces I decided to put the horizon line behind the applique ... like a landscape within a landscape .....

Part way through the applique process,  I wondered what if I only reveal part of the landscape and left some of the stepping stones in the top fabric ... and stitched the stepping stones shapes but without revealing the landscape beneath .

Here is the finished result .....

                 Stepping Stones Series # 12  ' Open Road'  12"x12"   © CarolynCollinsArt 2016

                 Stepping Stones Series # 12  ' Open Road'  12"x12"   © CarolynCollinsArt 2016

Tried a reversal of the color combination for the second piece .......

      Stepping Stones Series #13  ' Over the Hills ....'   12" x 12"   © CarolynCollinsArt 2016

      Stepping Stones Series #13  ' Over the Hills ....'   12" x 12"   © CarolynCollinsArt 2016

I'm off to stitch this second piece ....  Thanks for dropping by   CC

Grevillea Inspiration and Design

I love the Grevillea flowers in my garden this time of year  .... I've  been taking more  photos 

and have been comtemplating a number of different design options  ....

My first effort looked quite interesting on the design wall but turned into a disaster when it came to stitching the design ........ too many layers of fusible and fabric for my machine to handle - I used the leaf print on organza for the background and this may have contributed to the stitching problem ....

For my second effort,  I decided to rework the design and  use reverse applique to reduce the number of layers to stitch through and then add applique shapes   ... much happier with this version ....... though the design still needs some work .....

I'm going to try some new compositions for the next piece in this series ....

Thanks for dropping by    CC


Australia Wide Five & Art Studio Re-organised!!

This week  I am celebrating some achievements ...... 

Firstly, the OzQuilt Network, Australia Wide Five Exhibition opened at the Bunbury Regional Art Galleries,  64 Wittenoom St Bunbury on Friday 23 September and runs to Sunday 6 November 2016 before continuing on tour.  The gallery is open daily from 10am to 4pm and entry is free.

My piece 'Forest Pansy' is part of this Exhibition.  Click here to see all of the fabulous work that will be on tour.

Secondly .....  its done!!  After the delivery disaster earlier in the month, I took the opportunity to revisit the plans for my studio and decided to 'keep it simple'!!!  

Feels so light and spacious now and there is room for all the important things ... including a spot for my devoted poodle!!!  Now I just have to deal with the chaos in the spare room!!!

So it's back to work ....   

Thanks for dropping by .....   CC


What's in a Name? .... and the SAQA Oceania Blog Hop

This is my donation to the 2016 SAQA Benefit Auction ....

What's in a name?  

'High Road'  was made a part of a series I have been working on over the last 12 months or so, called 'Stepping Stones'.  This series was inspired by some crazy paving in my garden and uses reverse applique, a technique I really enjoy.

After sending in my auction piece I received an email from Martha Sielman  ... she liked the effect  but wanted to know why I'd called it "High Road"?

So let me show you a couple of the other  pieces in the series ..... 

 
        ' Green Hills'  Stepping Stones #4

        ' Green Hills'  Stepping Stones #4

      'Winding Way'  Stepping Stones #3

      'Winding Way'  Stepping Stones #3

For me,  this series is an opportunity to explore color combinations, design and horizon lines.   

When it came to the SAQA Benefit Auction piece I thought .....what if the top edge of the composition becomes the horizon line ... high horizon line ... "high road"  .... made perfect sense to me!! 

The process of making these pieces involves layering the 'road'  fabric beneath and then cutting away the top fabric as I applique the design. Once this step is complete, the hills/horizon line and sky are added and then lots of quilting.   In these small pieces the applique is done by hand. For lager pieces I use machine applique/reverse applique.  Most of the pieces in this series are mounted onto a painted or fabric covered stretched canvas.

More recently I have been exploring using different textures ... a painted background and using text ....

   ' Written Road'  Stepping Stones # 11

   ' Written Road'  Stepping Stones # 11

 
    'Painted Road'  Stepping Stones #10

    'Painted Road'  Stepping Stones #10

The auction will kick-off at 2pm EDT on September 16 with Diamond Day bidding - and early bird opportunity to purchase any quilt for $1000.  The 12" x 12" Auction Quilts will be divided up into three sections for bidding purposes.  Each week, a different section of quilts will be available for bidding, starting at $750 and further reduced throughout the week.

'High Road'  will be included in Section 3  which is open for bidding from 3 -9 October.

If you've missed some of the earlier participants in this Blog Hop,  I can recommend having a look.  Here is the link to the  SAQA Oceania Blog Hop

We've saved the best till last ...  don't miss Lisa Walton's posting in this Blog Hop on 14 September 2016  at  www.firbreinspirations.blogspot.com


Studio Re-organisation ...... Not!

I was planning to show you my newly re-organised studio today .... however,  when the new desk I had ordered,  to make the best use of the space I have,  was being delivered last week, it slipped, dropped and broke in two!!!  so they took it back to the depot and I have nothing to show!!  The studio is feeling very spacious!!!

Instead, let me tell you about a new piece  I am starting to work on ....

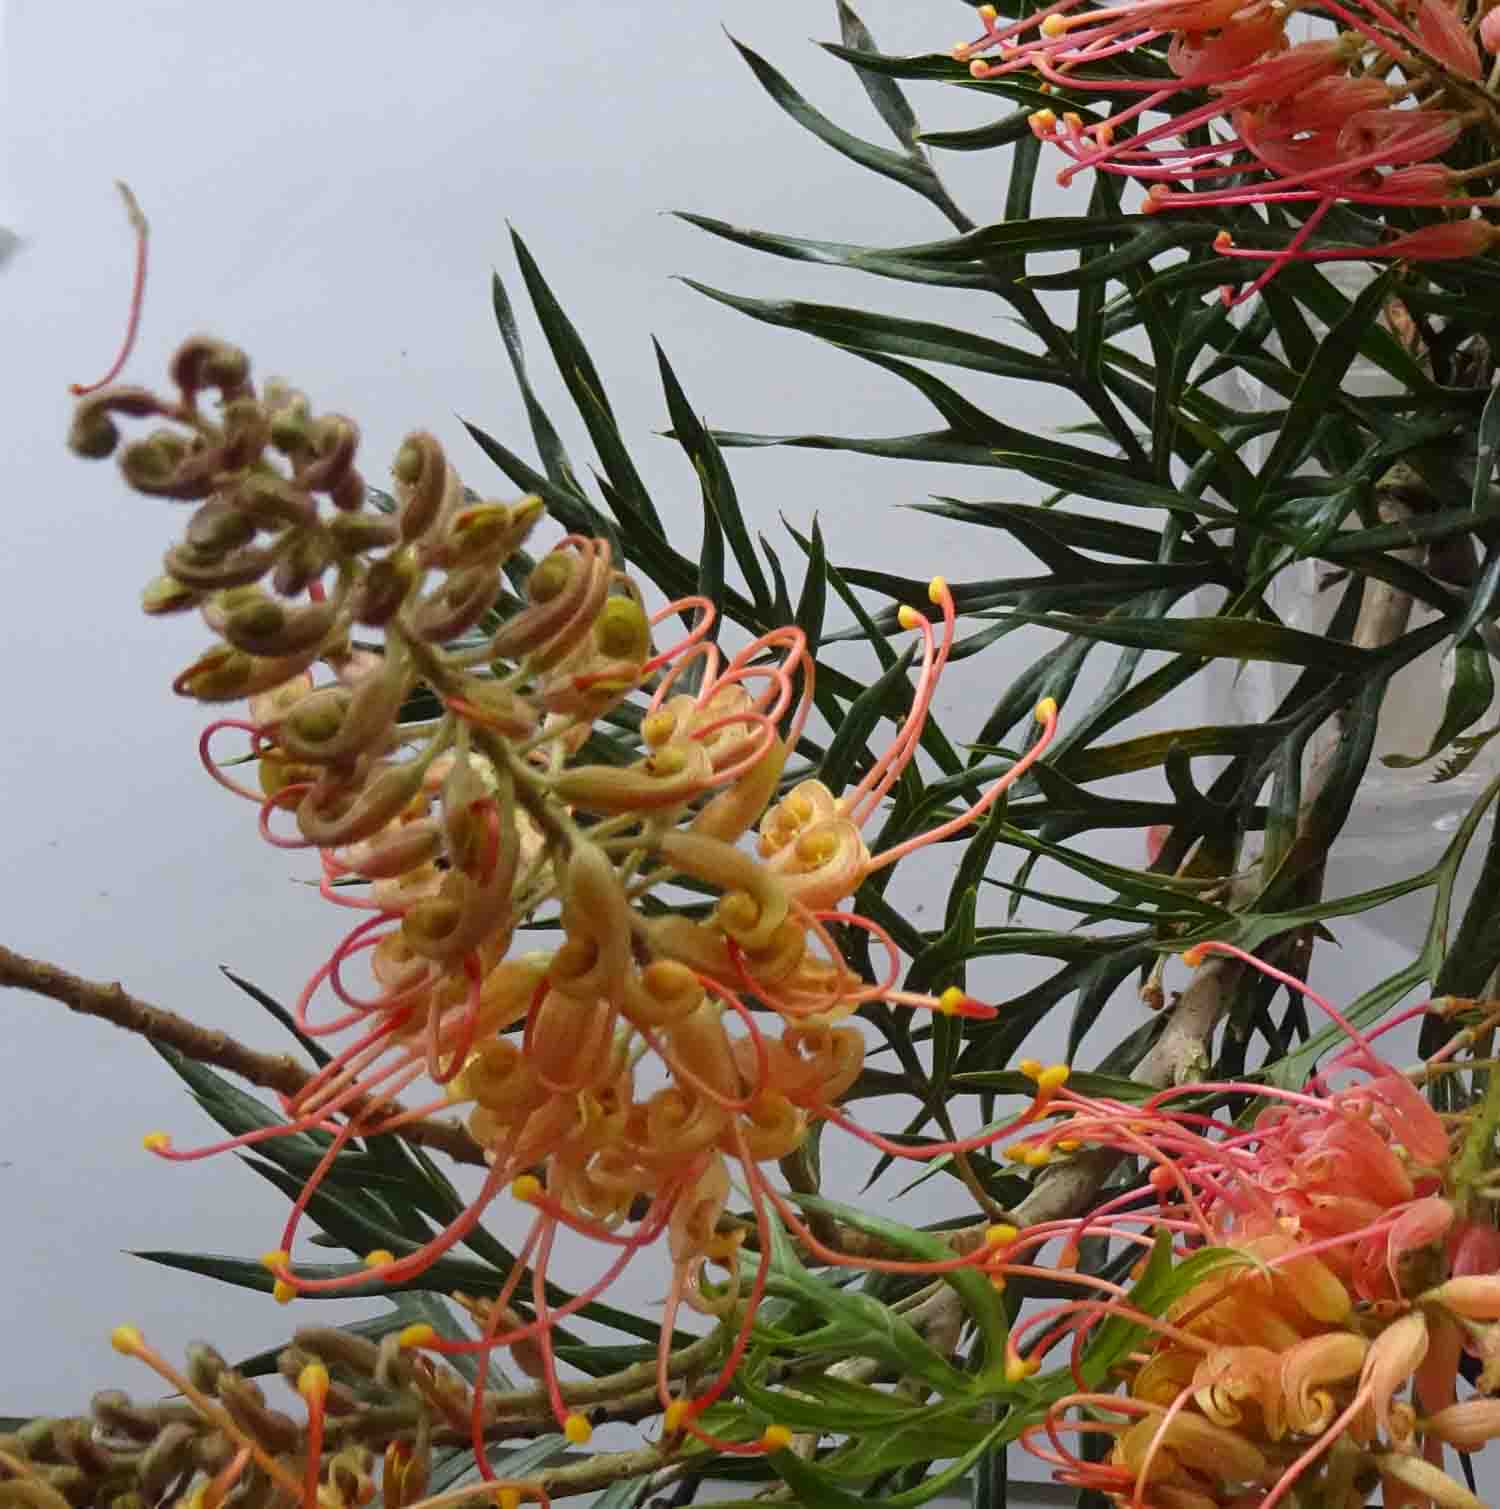
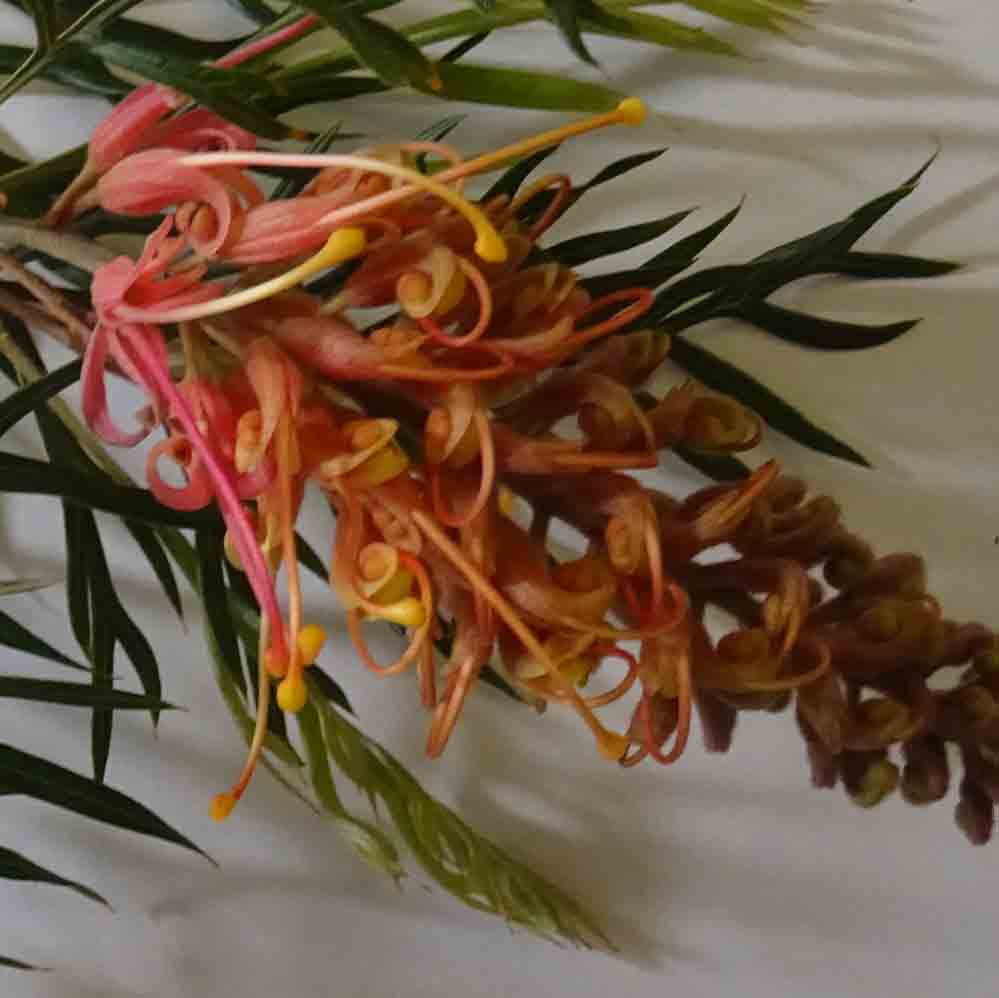
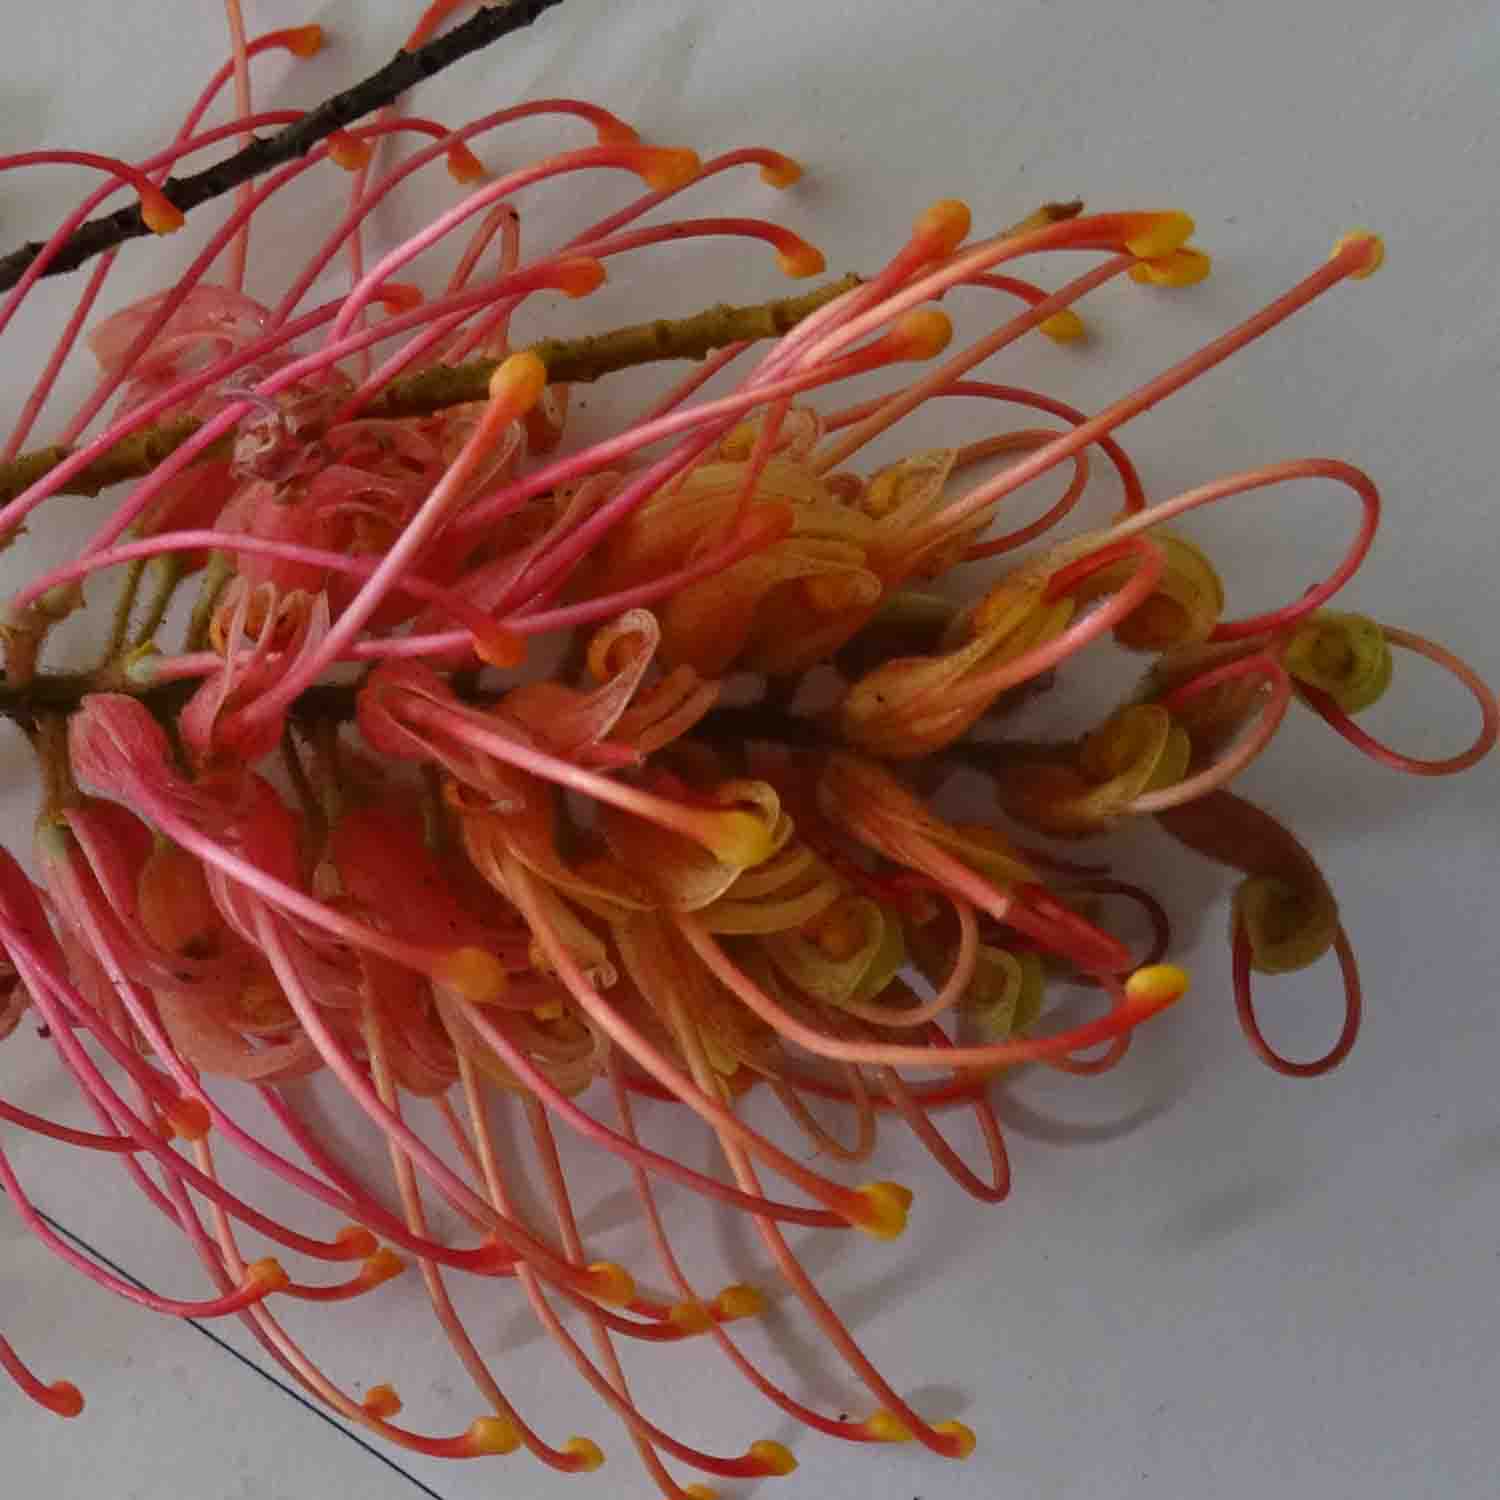
I have always been fascinated by the Grevillea that grows in my garden, and it's in full bloom right now.  So I've been taking lots of photos .....

The challenge is to capture the wonderful color and form of this flower!  I've been sketching some layouts and have an idea of how I might be able to bring it together.   Thought I would start with a small piece 10"  x 12"  to see how it works in practice!  I tried printing with the Grevillea leaves during my latest printing session so I'm hoping that will work as the background to the piece.  Will let you know how it progresses .....  

Thanks for dropping by   CC

New Art in the Stepping Stones Series

This week I've been working on a new piece in the Stepping Stones Series ....  I love this series because it allows me to play with design and color combinations.

In the last piece I included a streak of contrasting blue ......

                 © Carolyn Collins 2016 " Written Road"   Hand dyed fabric  12" x 12"  

                 © Carolyn Collins 2016 " Written Road"   Hand dyed fabric  12" x 12"  

This time I've gone a bit further and used a contrasting fabric as the background for the reverse applique.....

               © Carolyn Collins 2016  " River or Road?"   Hand dyed fabric  12" x 12"

               © Carolyn Collins 2016  " River or Road?"   Hand dyed fabric  12" x 12"

The quilting is well underway .....  it looks so different in this photo of the work in the machine, an entirely different perspective!

                        © Carolyn Collins 2016  "River or Road Detail"  

                        © Carolyn Collins 2016  "River or Road Detail"  

I'm not sure whether this is a blue road or twin rivers??  I'll think about it while I get on with the quilting!  Thanks for stopping by ....  CC

Facings, Framing and Mounting on Canvas?

This week has been all about finishing work ... think I have the facings sorted but I've found some challenges when it comes to mounting work on stretched canvas and framing work!  I decided to mount LeafLines #20 on a stretched canvas for the exhibition  at the GCS gallery in Sydney.  While I've been using stretched canvas for my Stepping Stones pieces ... LL #20 is significantly larger!  so I've had to resolve some  challenges  ....  

-  getting the paint color for the canvas right -   I want it to blend in with the work ... in the end my trusty  '3 in 1 Color Tool'  provided the key to color mixing;

- how much stitching is required to hold the work on the canvas securely?  -  I used mounting tape to hold the piece in place and then I have stitched around the edges - so we will see!! 

- how to finish the back of the canvas and cover the staples and painted edges -  I found a framing tape and have used that to finish the back.

With LL#20 sorted I turned to the monoprints I made earlier this year.  I have quilted them on a base of white felt.

 I have been searching for a way to present them ....  I tried a traditional mounting and frame  but I think these pieces will look better without a mounting or a finished edge .... so I've tried 'floating' the quilted print over a background ......  here are two of my experiments ....

The blue background is too distracting but I like the simple white on white .....


Having reached a decision about these prints  ....  I felt like I was on a roll ......


So I pulled out a number of small landscapes  5" X 8"  that  have been hanging around  and tried a similar approach .......  for this one I think the pale blue background is a plus ........

It feels good to have sorted this framing out - but  I'm still on the trail of fresh ideas for presenting my work .....

Thanks for dropping by ...............................CC

Mangroves on the Design Wall

A while back I posted about drawing in the mangroves and contemplated the possibilities  of translating the sketch into fabric ....  well I've been working on the idea and after playing with the possibilities for a while,  I finally have some ideas up on the design wall,   just pinned at this stage ....

It still needs lots of work, but after looking at the black and white version I think its taking shape nicely.  Looking at the value placement in the composition really helps me to see how its working and how my eye moves across the piece .... not always so easy to see in full color!

I haven't yet decided on the final format for the piece .... I'm contemplating whether to add strips to top and bottom .... although this long thin landscape format looks good in this post ...... what do you think?